I feel like the title of this post really should have been ‘Dressing Room Progress???’. I keep reminding myself that you have to make things worse before you make them better when it comes to DIY.
Before I show you the ugly before and destruction pictures, I thought seeing a floor plan of how I intend to layout the wardrobes and furniture in the room might help give a clearer idea of the size of the space and how much I’m hoping to cram in – it’s so difficult to take pictures of the room because of it’s petite size. 
This weekend I made the trip to Ikea and purchased a MALM dressing table and PAX wardrobe. I already had a 50cm wide, 58cm deep PAX from my pre-move bedroom but picked up the 75cm deep PAX; playing a fun game I like to call “How Much Ikea Furniture Can You Fit In A Ford Fiesta”. I’ll need to make a mid-week visit to pick up the remaining 35cm deep PAX wardrobes and a Billy bookcase, which will become my shoe closet.
So, here’s what the dressing room looked like before destruction started… 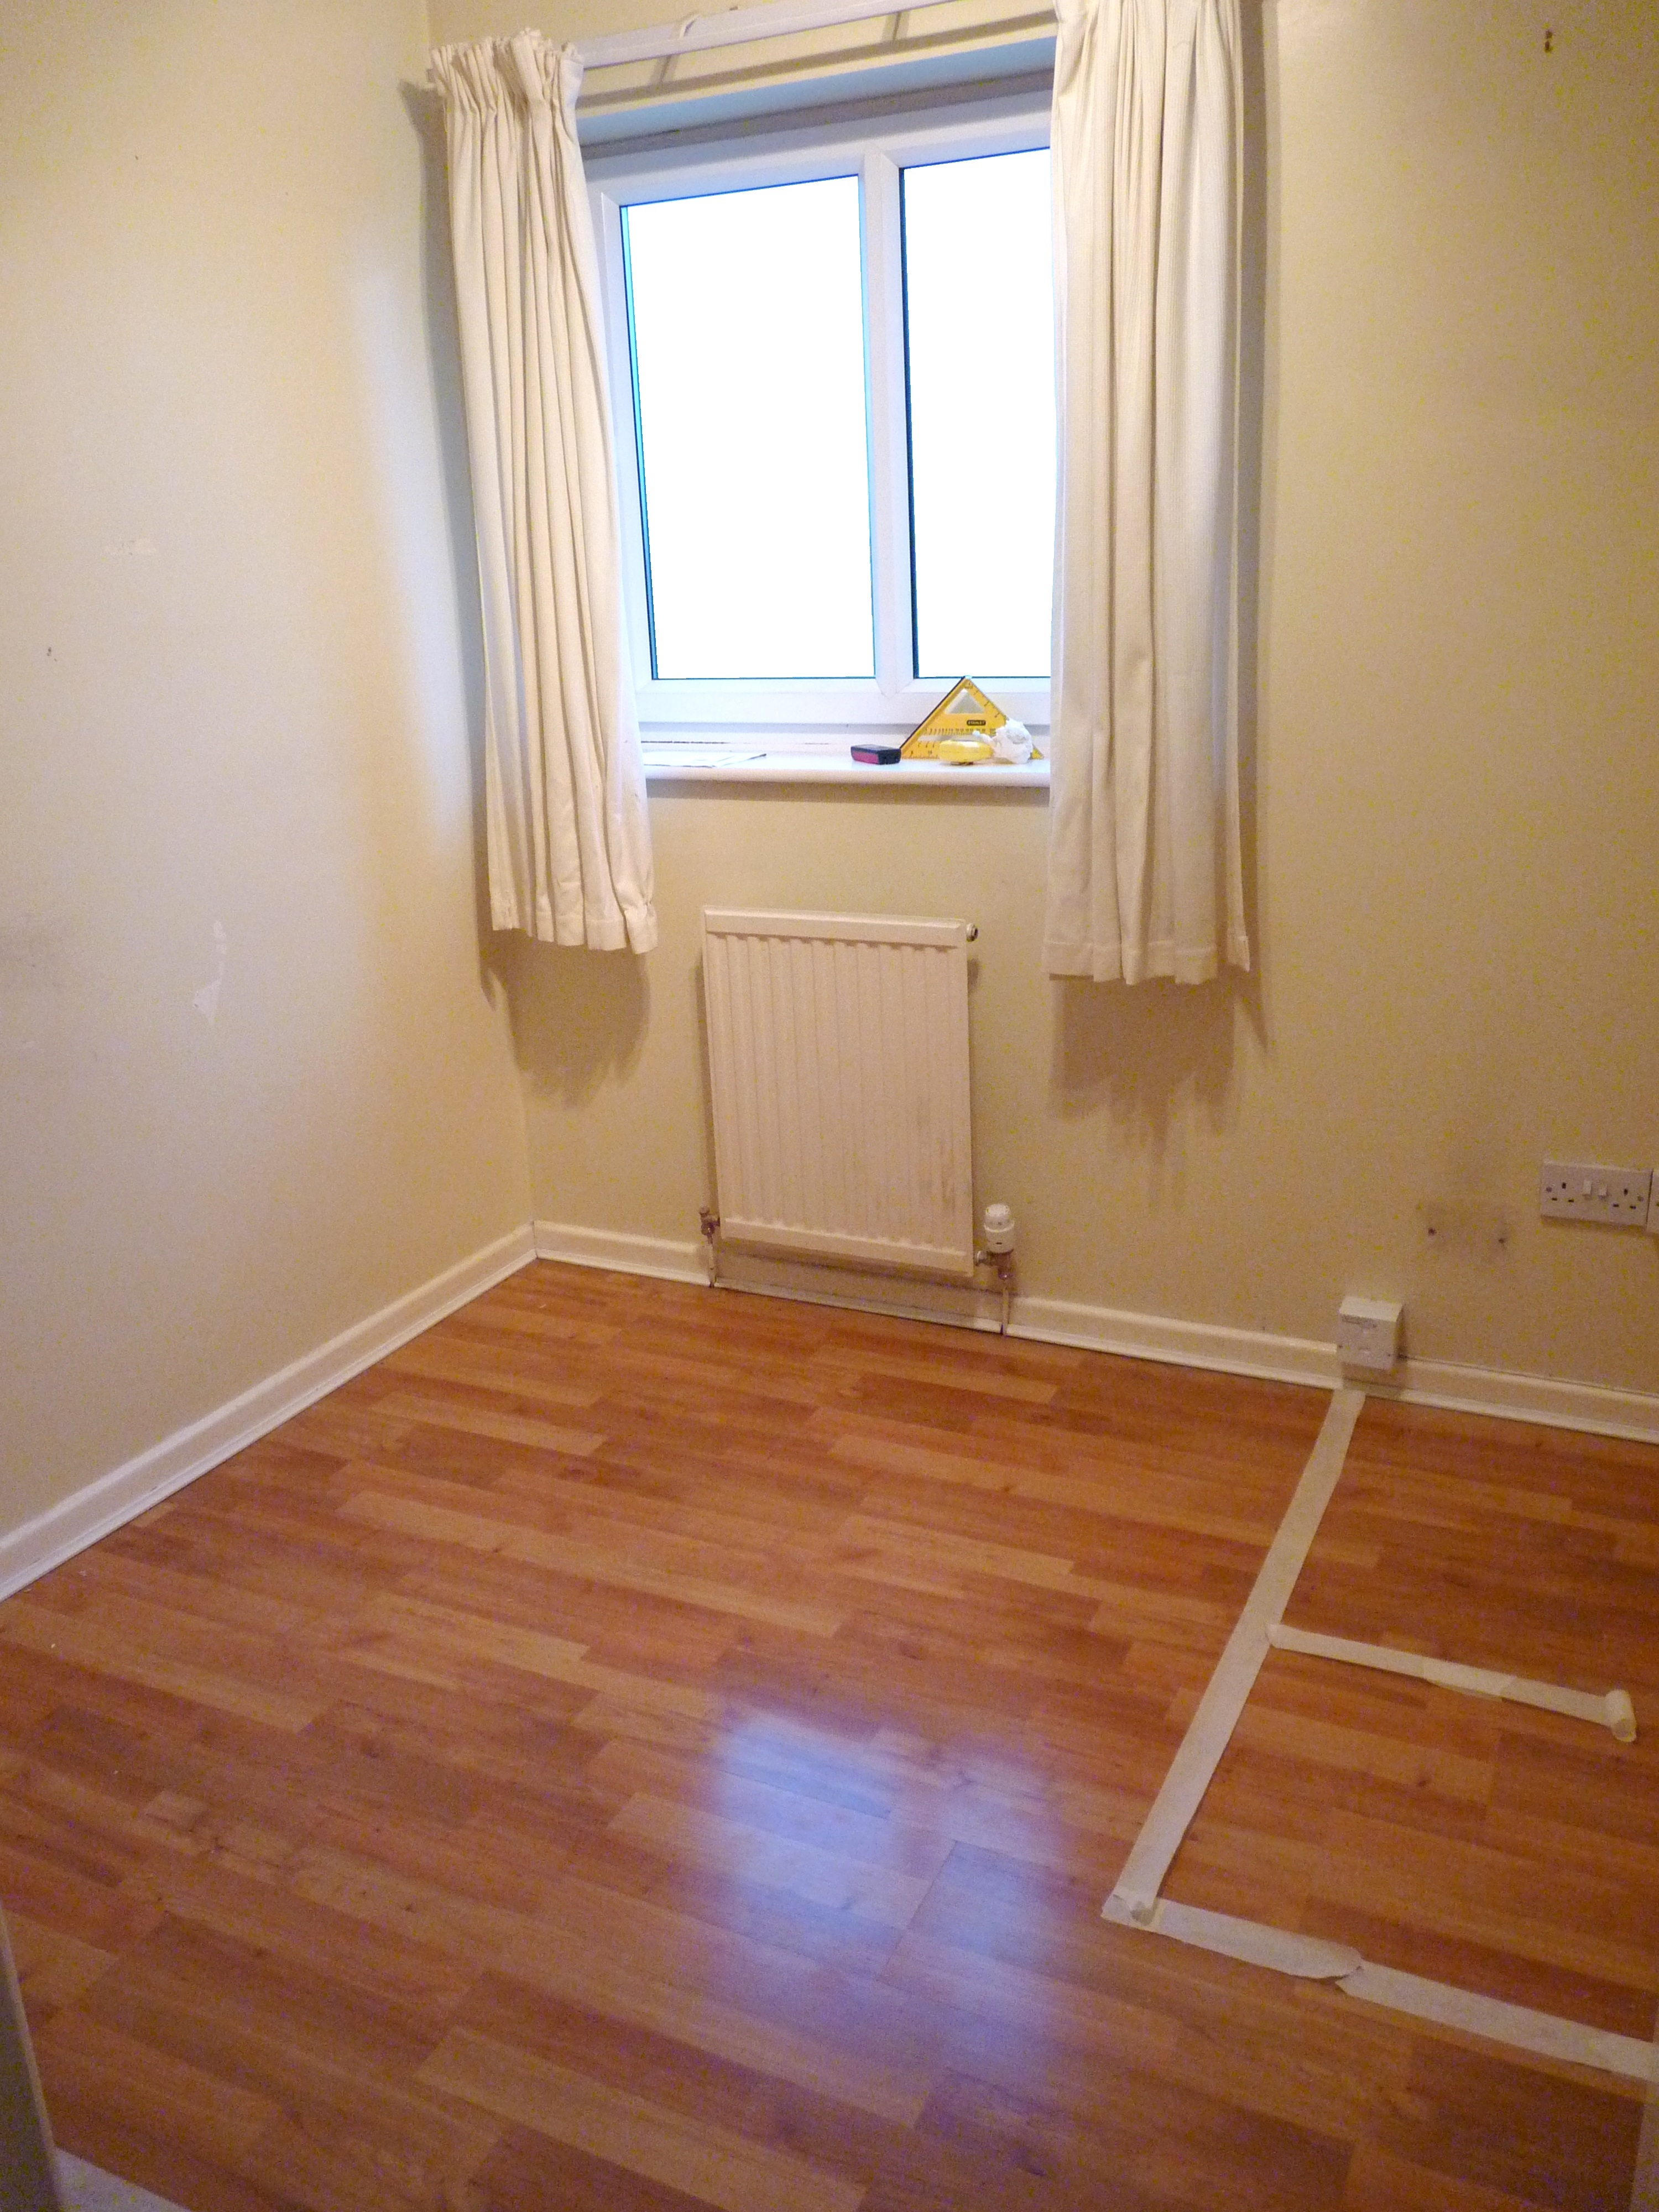

Those pictures are dreadful but it’s such a tiny space it’s pretty much impossible to get the whole room in. This shot of the floor, taken with me squeezing myself against the wall in a corner, gives a good idea of just how small it is (ignore the tape on the floor, that’s for marking out where wardrobes will go.) 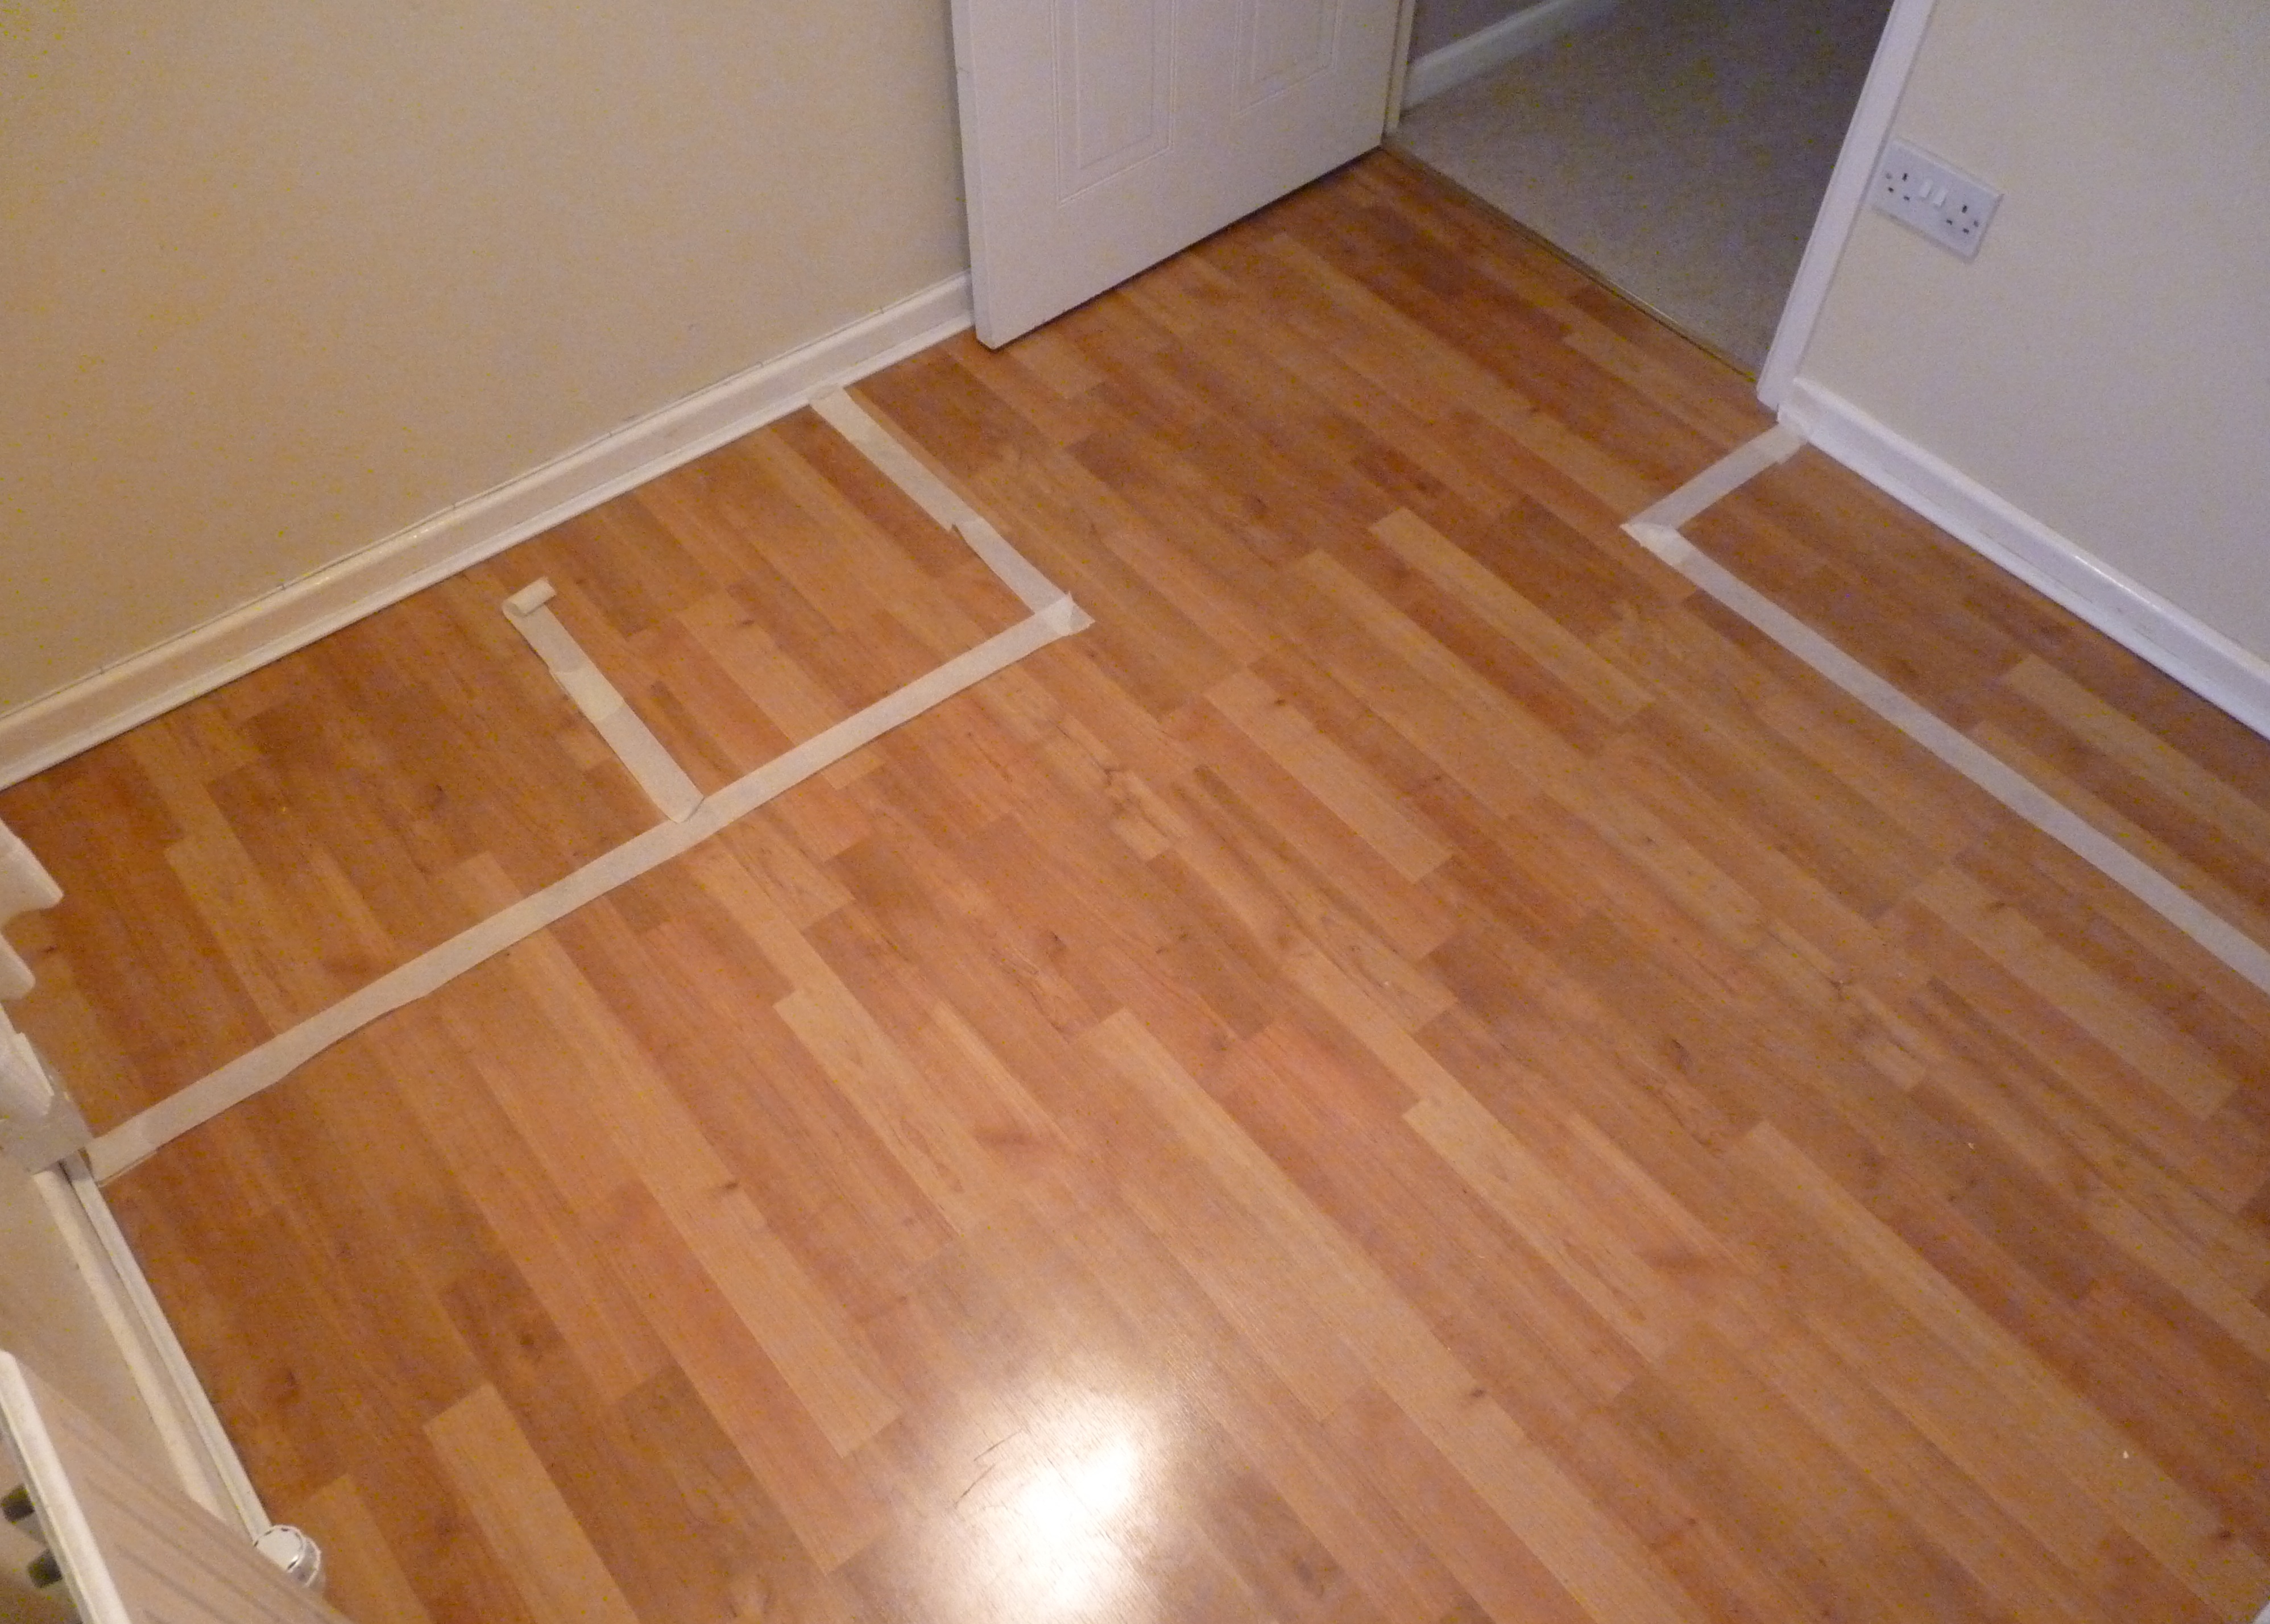
The old coving was ripped out as it was in pretty bad shape along with the horrible, yellowing old plastic curtain rail and skirting boards. As I said in my dressing room inspiration / mood board post the Thibault Tanzania wallpaper was always a must for me and was something I ordered straight away. Luckily I only need one roll so it’s not hurting my bank account too much. I managed to find the perfect paint at the Valspar counter at B&Q for the other three walls. Dairy Belle compliments the wallpaper without being too creamy against the all white Ikea furniture. 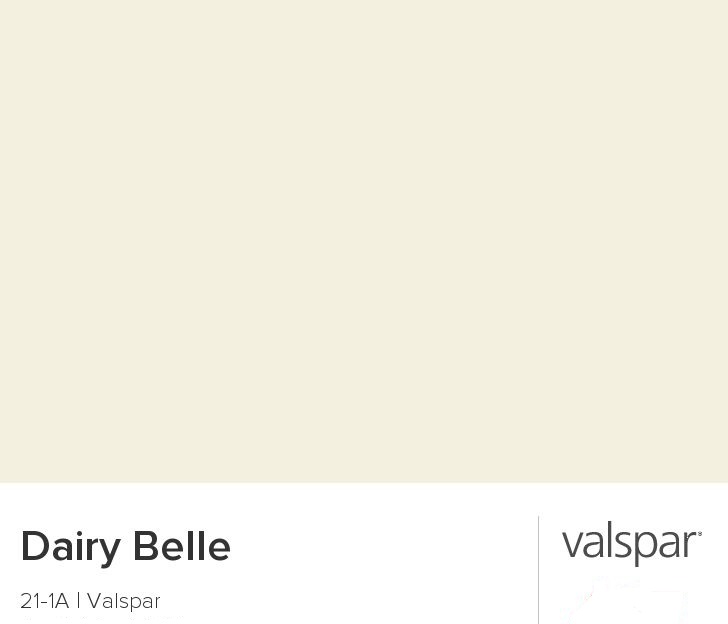
This progress picture shows how much lighter Dairy Belle is compared the pale yellow walls that were originally there – the room definitely feels a lot lighter now. 
Painting has been completed and wallpaper has went up this weekend. New coving is currently drying (is that the even right term?) in place. 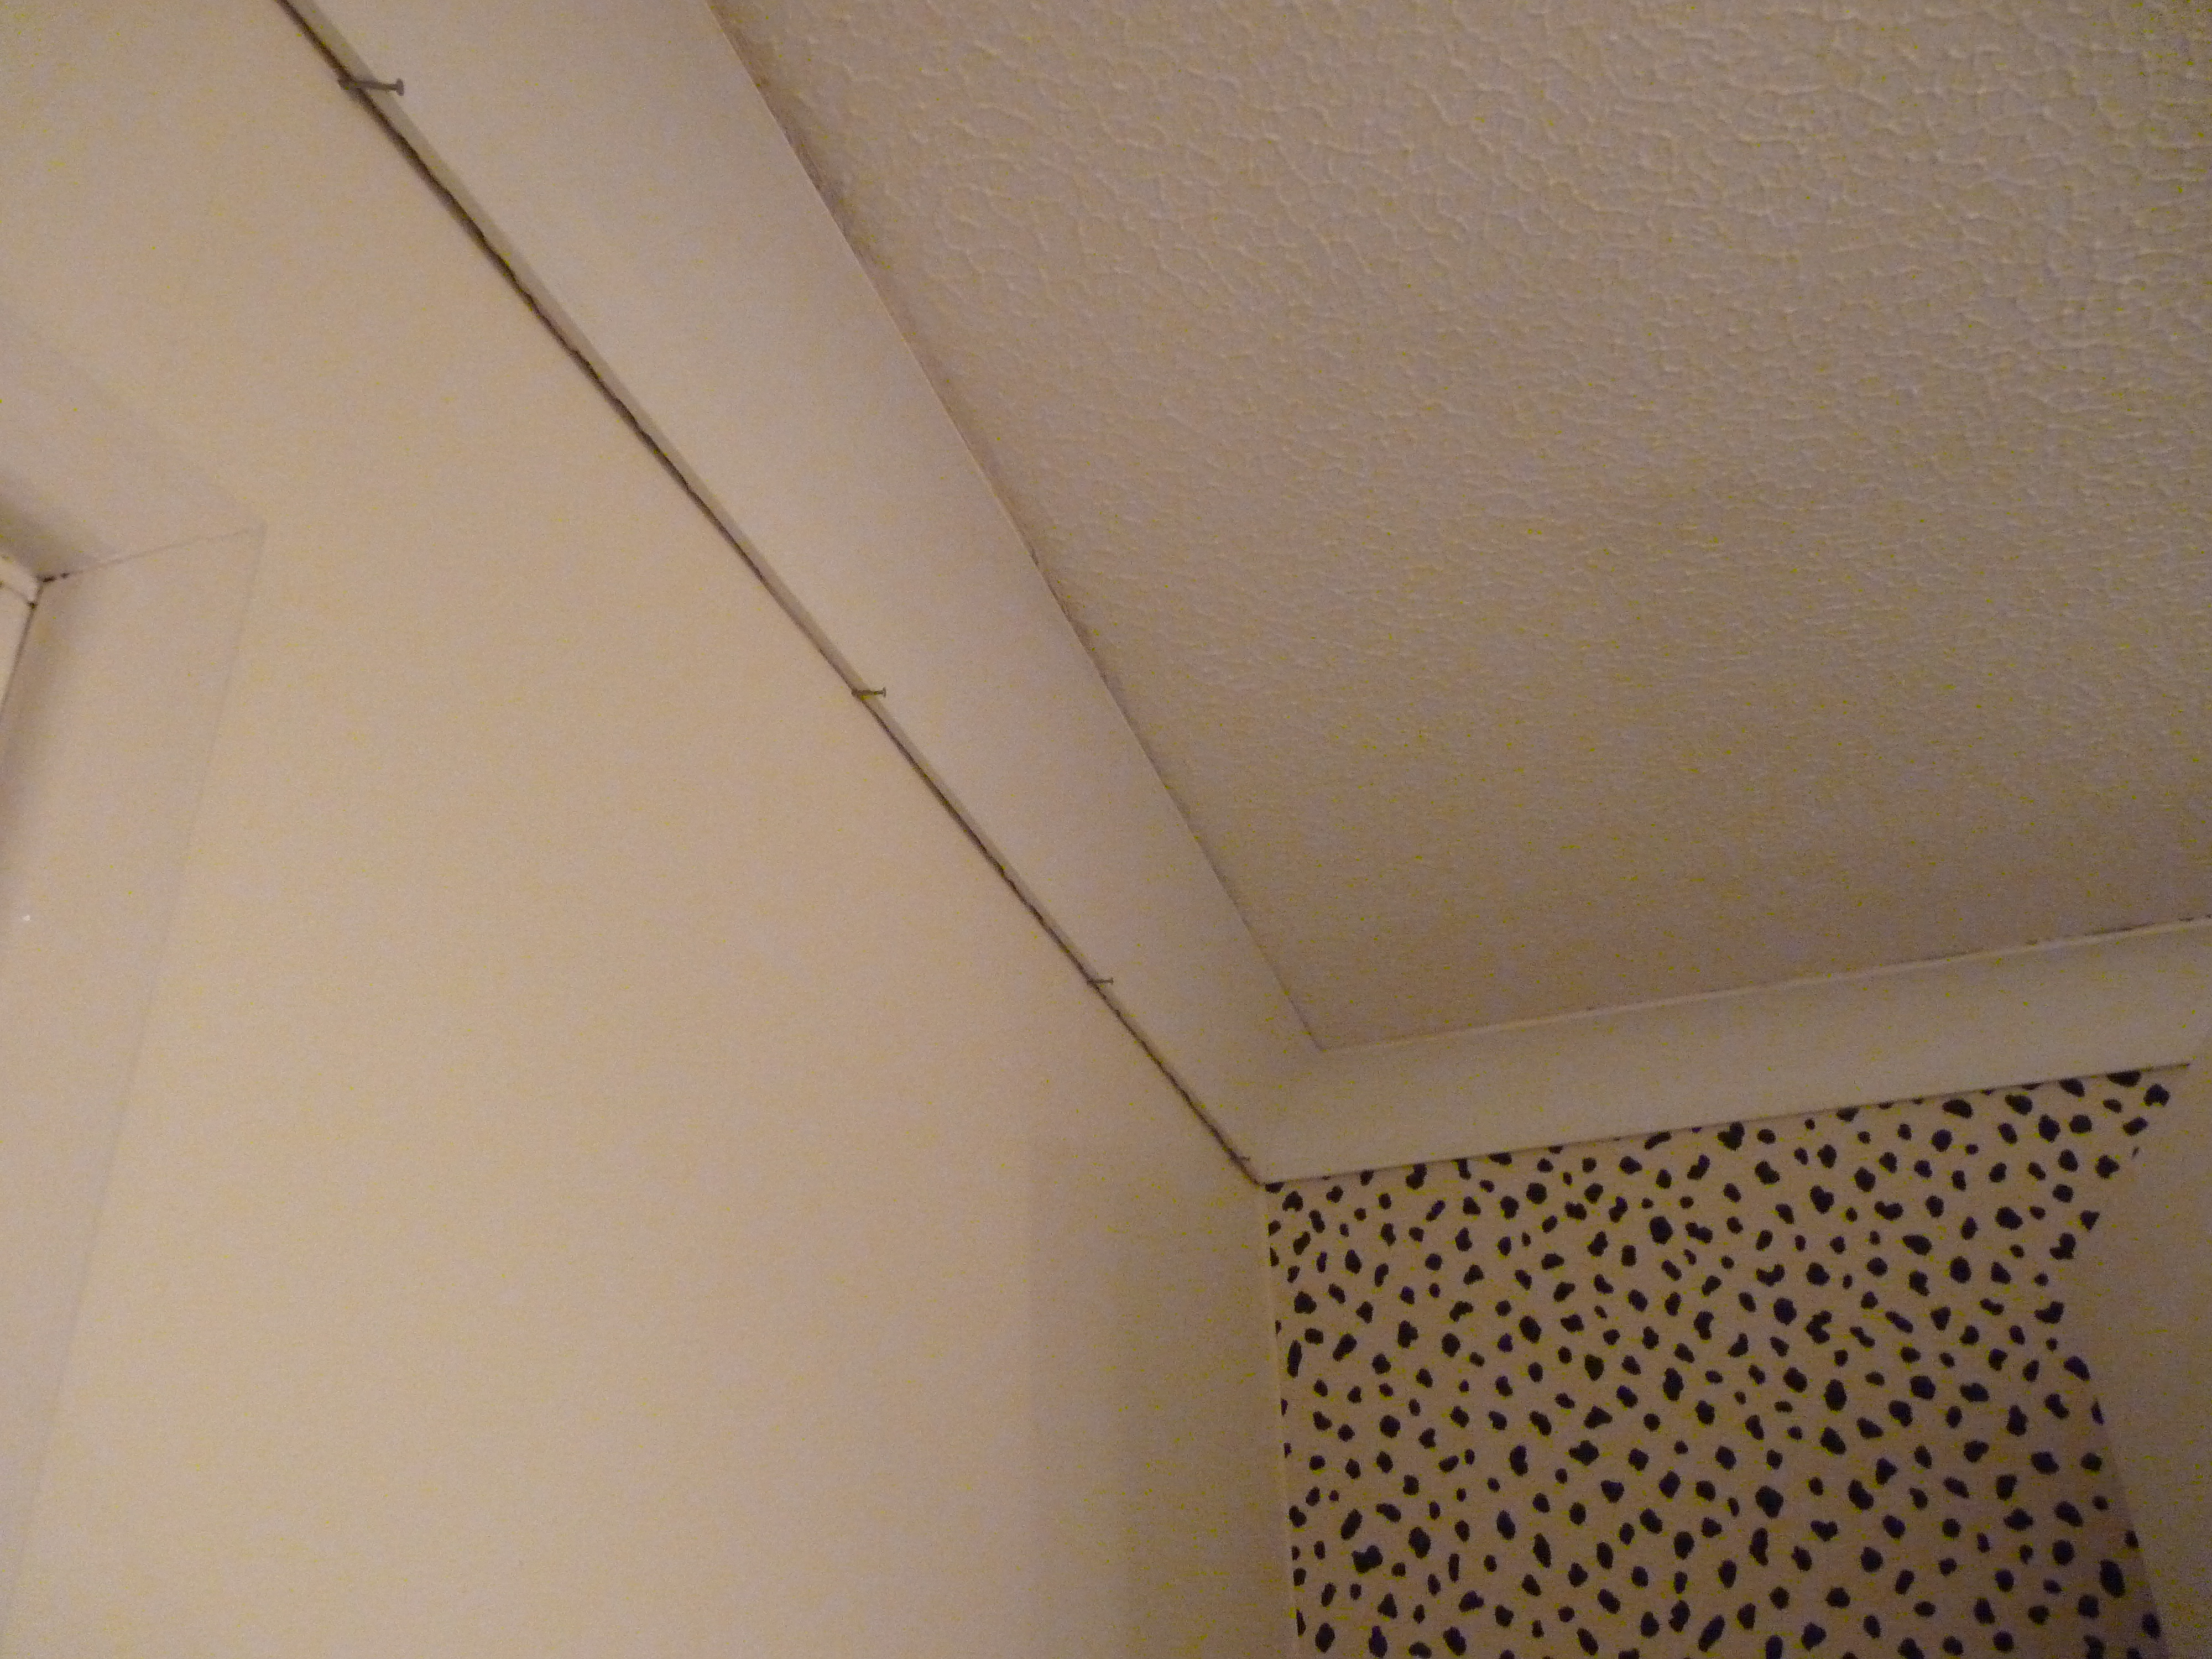
The last thing that has changed in the dressing room is that last week the old radiator was replaced. The previous one was too high and would have meant that the dressing table wouldn’t have been flush against the wall so a gas/boiler/plumber dude (whatever the official job title is for the people who are actually qualified to mess about with things like this. I know my limits and there is no way I’m messing about with radiators!) replaced it with this smaller one, which is also more energy efficient, whilst a few other radiators were being replaced and the central heating system was being flushed out. #glamourtimes. The radiator was around £25 from B&Q and the guy didn’t actually charge us anything extra for the labour as he was already here doing work. It might sound silly to change the radiator but in such a small room every centimetre of space counts so for me this was a worthwhile spend. Baby radiator for the win… 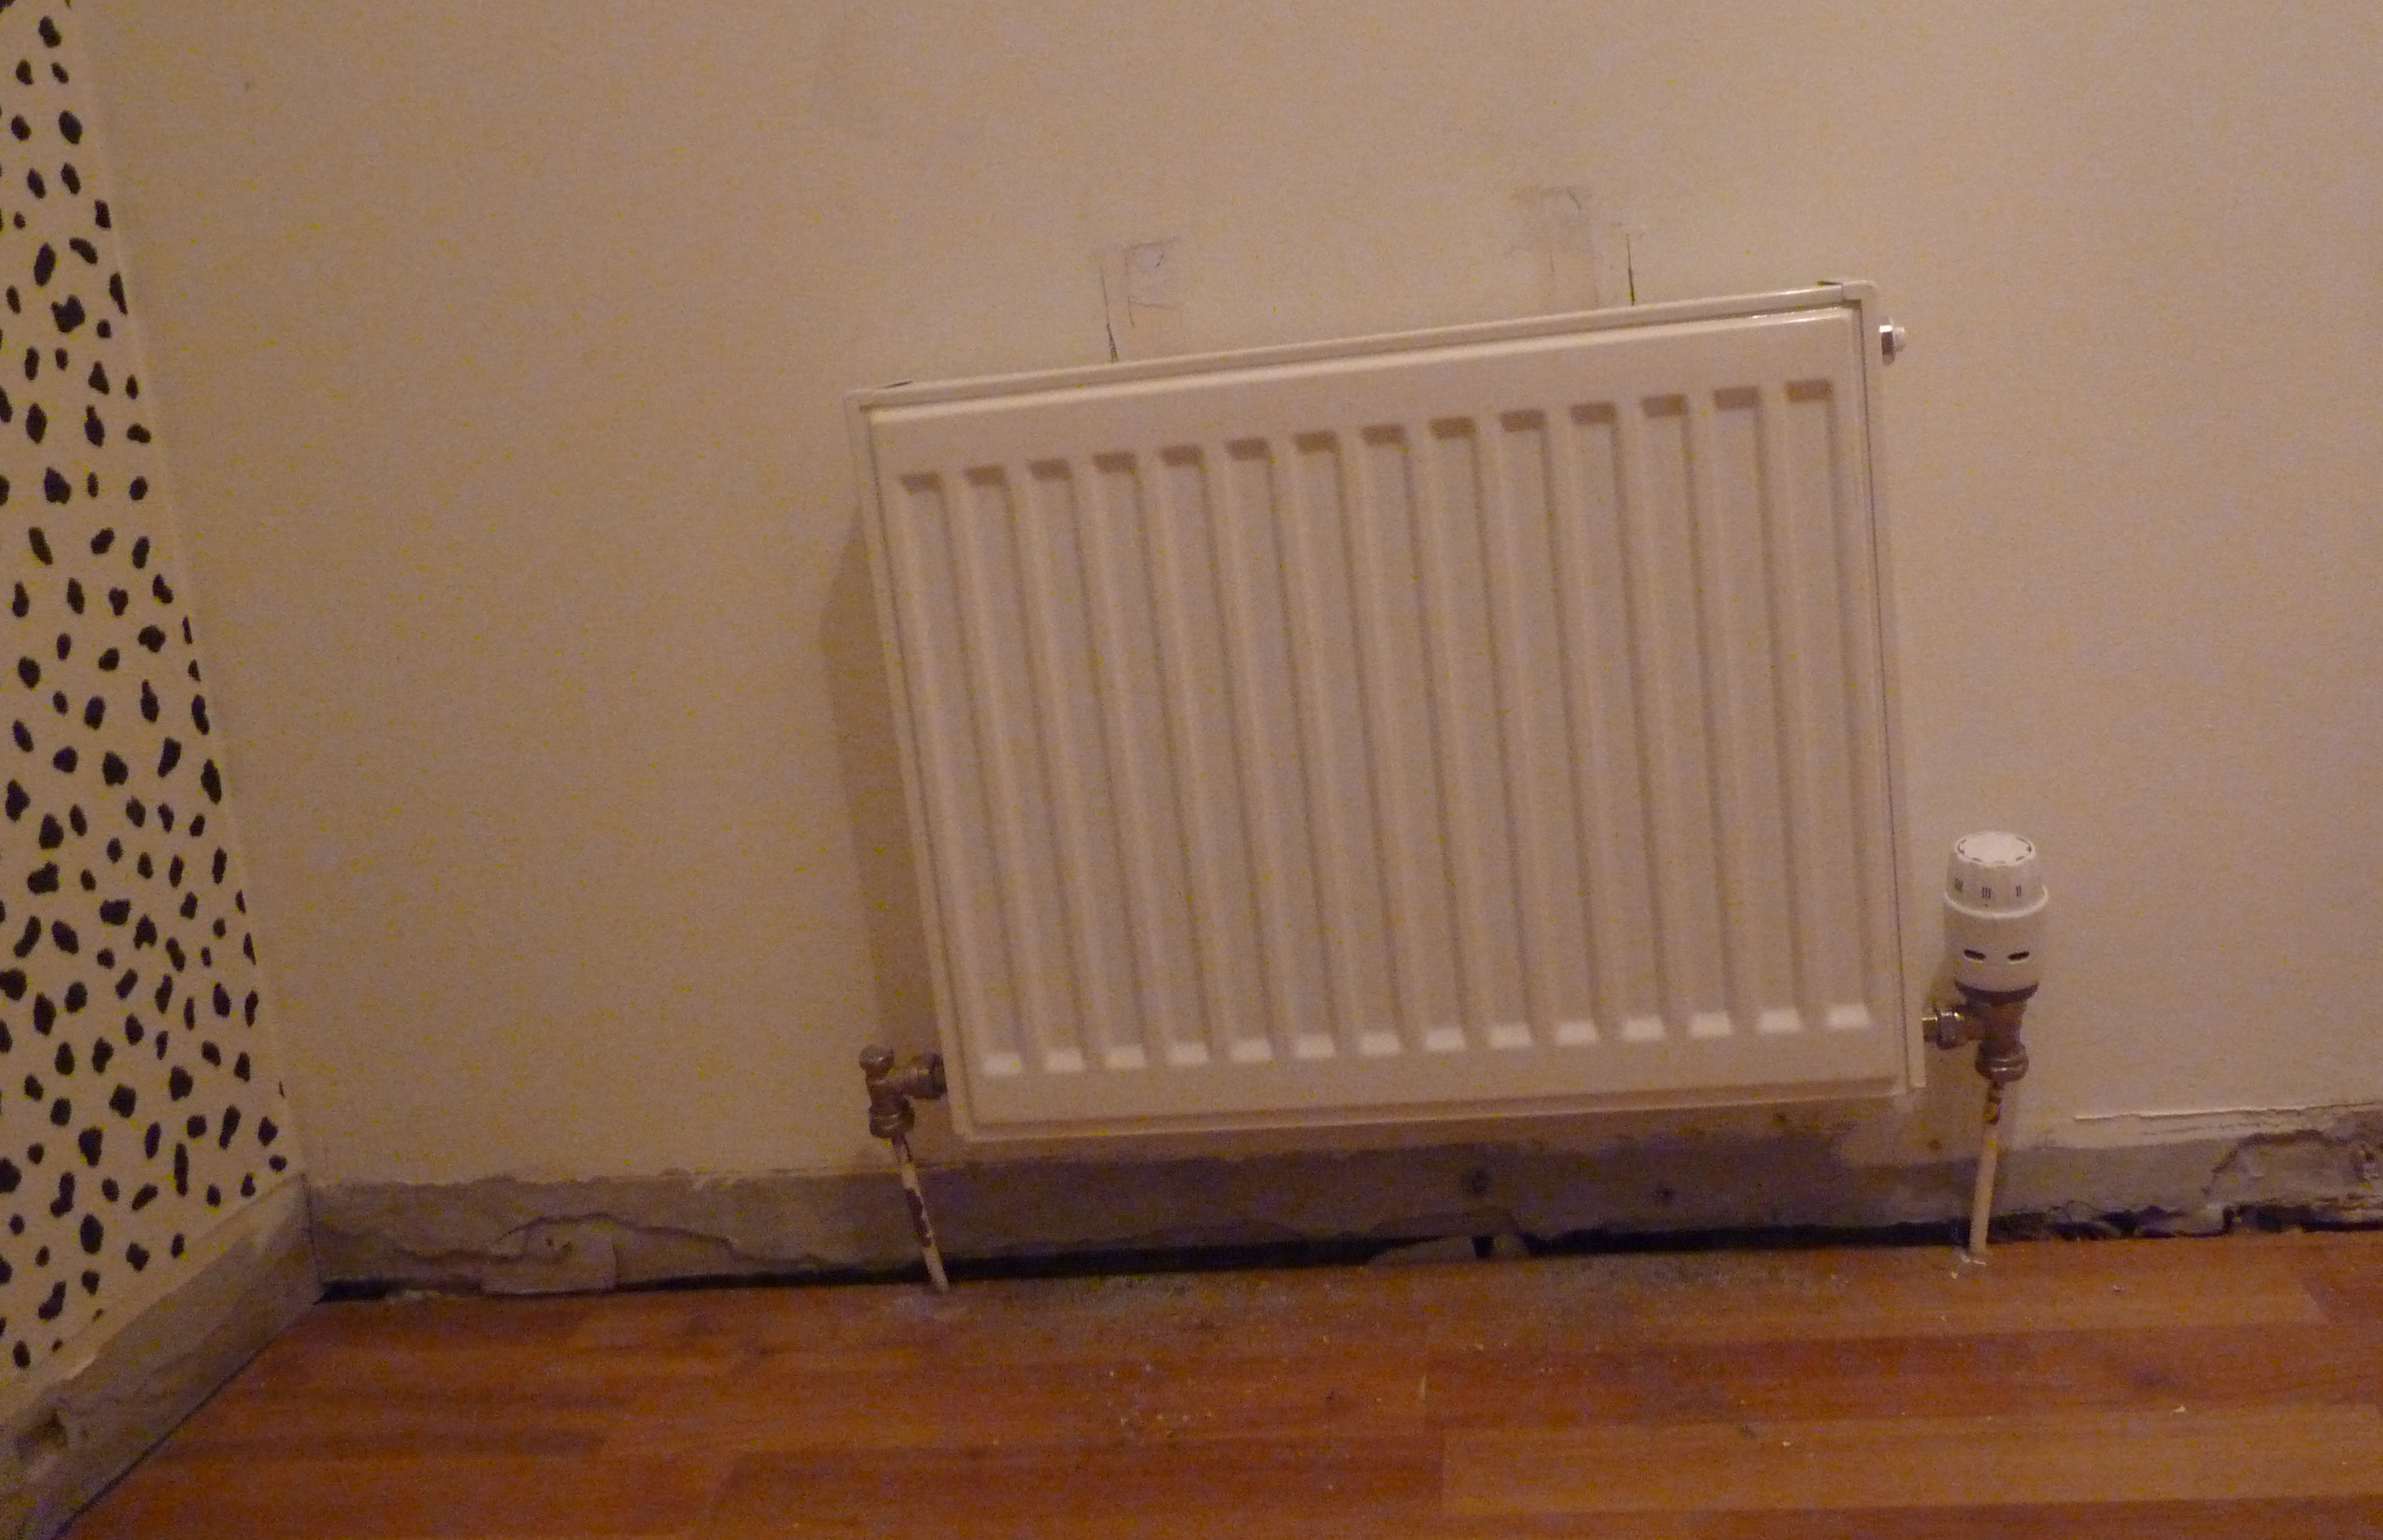
Anyway, no pretty progress pictures as yet, but at least the bulk of the “dirty” work has been completed now. Once the coving has dried it just needs caulking and painting and then I’m all set to start making organisational magic happen in there! After building a lot of IKEA flat pack furniture…
