 Sometimes you just want a quick and easy little project to feel like you’ve accomplished something with immediate results. This DIY project couldn’t be simpler or quicker.
WHAT YOU NEED:
Tiles (I used the £1 sample tiles you can buy from B&Q for this Aquila White Carrara Porcelain tile)
Felt self adhesive pads (I used these)
Optional extras: A sample pot of paint and some fine grit sandpaper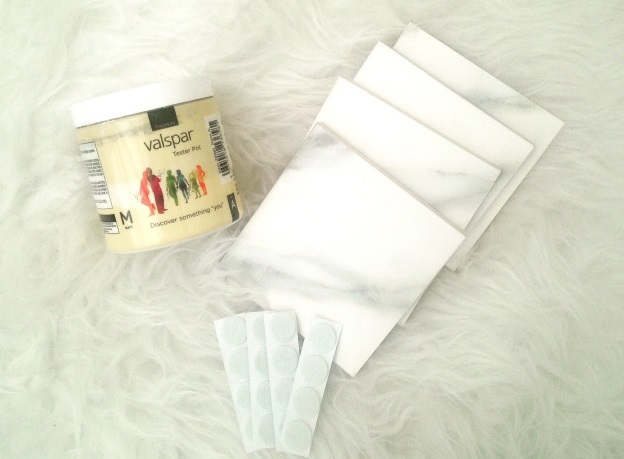 WHAT YOU NEED TO DO:
STEP ONE: If you buy sample tiles that have been cut down from a larger piece, check that the edges don’t feel rough to the touch. If they do give the edges a very light sand and touch up the sides with a paint colour that fits in with the colour of the tiles you have picked out – I bought white marble look tiles so just gave them a quick slick of paint on the sides with some white paint I had on hand.
If you purchase small tiles that are specifically manufactured to that size then you can skip this step.
STEP TWO: Once any paint you have used is dry, turn your tiles over and affix a felt self adhesive pad onto all four corners of each tile. 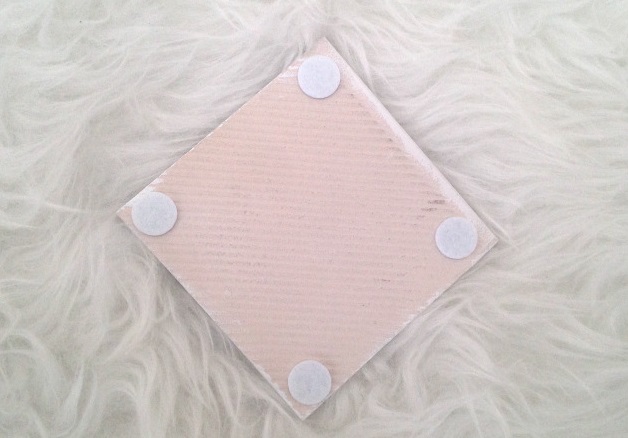
STEP THREE: Flip your tiles back over and go make yourself your libation of choice to celebrate your DIY prowess and show off your fabulous new coasters!

