If you’re visiting for the first time then, welcome! Here are the links to Week One, Week Two and Week Three.
It’s fauxdenza time people! 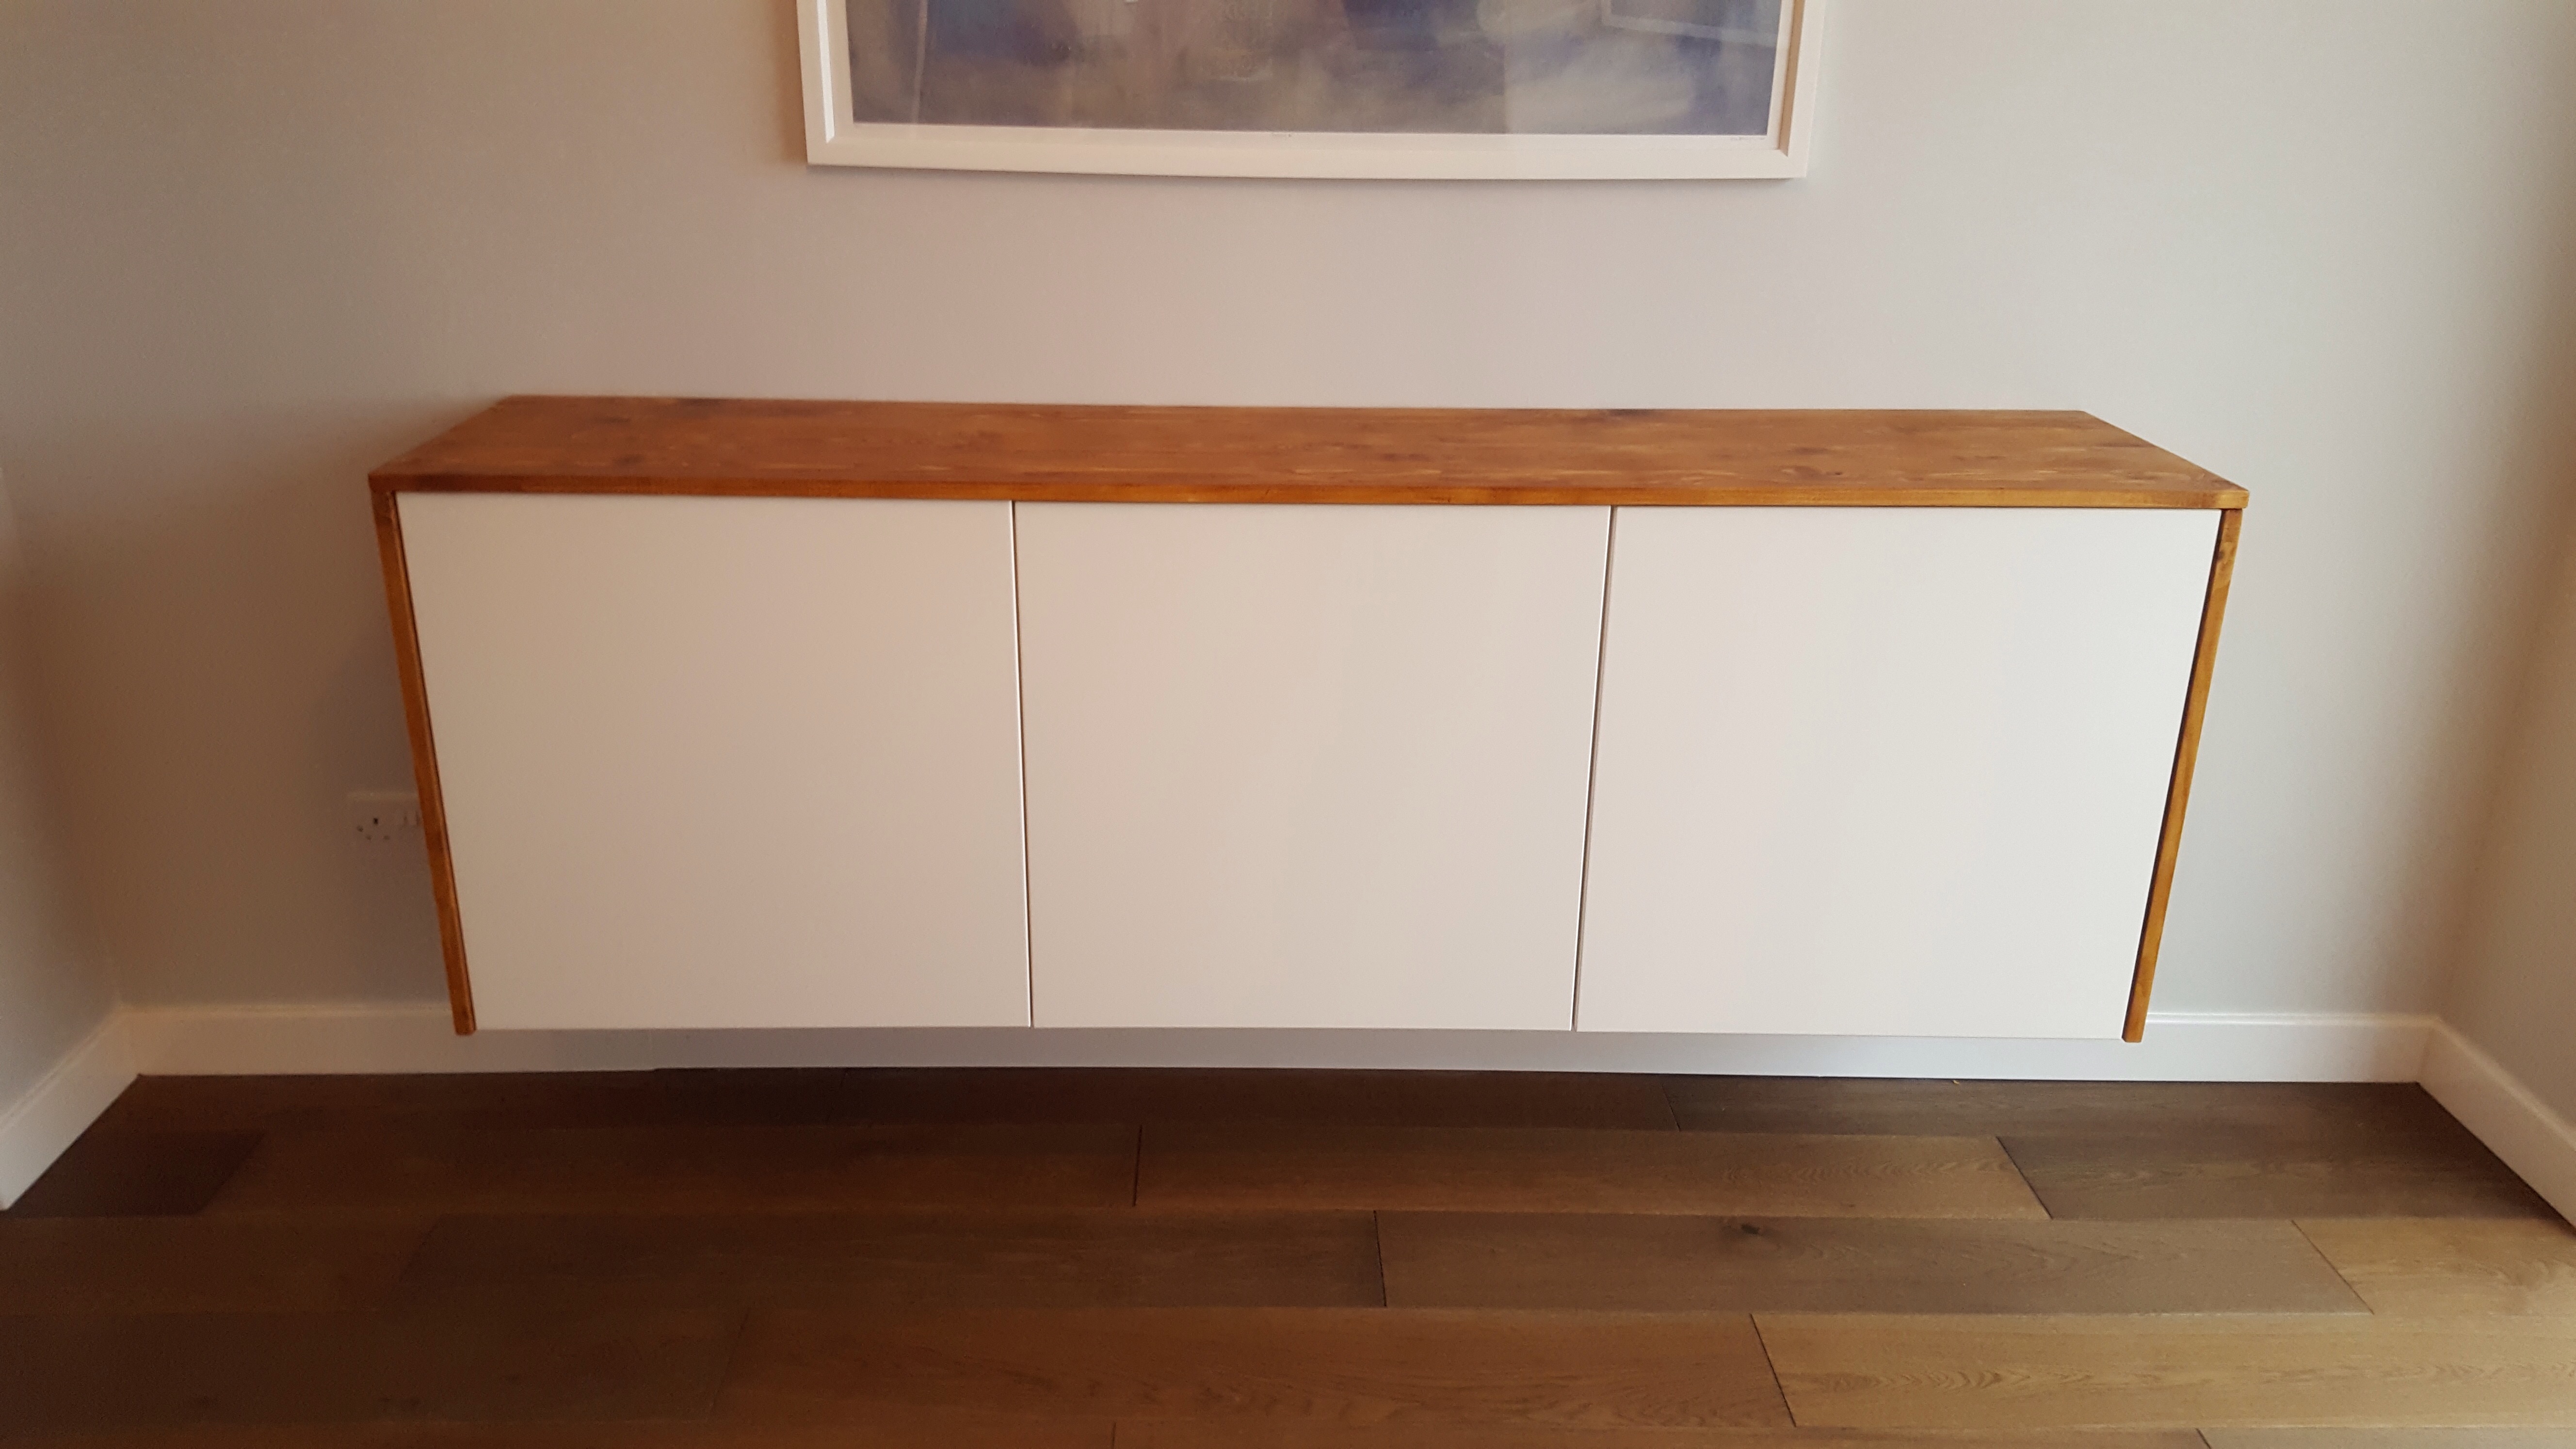 I knew I wanted to include a fauxdenza in the dining room when I first started thinking about how I wanted the room to look when. They’re supremely practical from a storage point of view (I plan to store wine glasses, cocktail making equipment, napkins and the likes in mine) without taking up too much space and keeping things feeling airy by being up off the floor.
There’s nothing ground breaking in my approach to this fauxdenza, and I’m sure everyone has read a blog post or two on how to achieve the look. In short, you take IKEA upper kitchen cabinets and mount them way too low. Then you attach some wood to the sides and tops to cover up the not so attractive cabinet tops and suspension rail and BOOM! You’ve got yourself a fauxdenza.
WHAT YOU NEED:
IKEA upper kitchen cabinets (I used x3 60x60cm METOD wall cabinet frames)
IKEA suspension rail
IKEA cabinet doors (I used x3 VEDDINGE white doors)
Heavy duty plasterboard rawl plugs
Wood for top and sides
Wood stain (I used Cuprinol Garden Furniture Stain in Antique Pine)
Glue (I used Evo-Stik Gripfill)
Screws
WHAT YOU NEED TO DO:
STEP ONE: Measure up where you want your fauxdenza to sit on your wall. Using a level draw a line for where you need the suspension rail to sit. Mine sits 28cm up from the floor which makes the overall height at 90cm once everything is assembled.
STEP TWO: Attach the suspension rail to the wall. I used heavy duty rawl plugs for the plasterboard wall so I knew the cabinets wouldn’t be going anywhere once they were in place and filled.
STEP THREE: Build your IKEA cabinets and attach the suspension rail (they just slide on and then ‘lock’ into place).
STEP FOUR: Add your doors. If you want to make your life magical definitely get the soft close hinges. I also chose to add the push openers instead of handles, although I’m still debating whether to get some of these brass handles from SuperFront.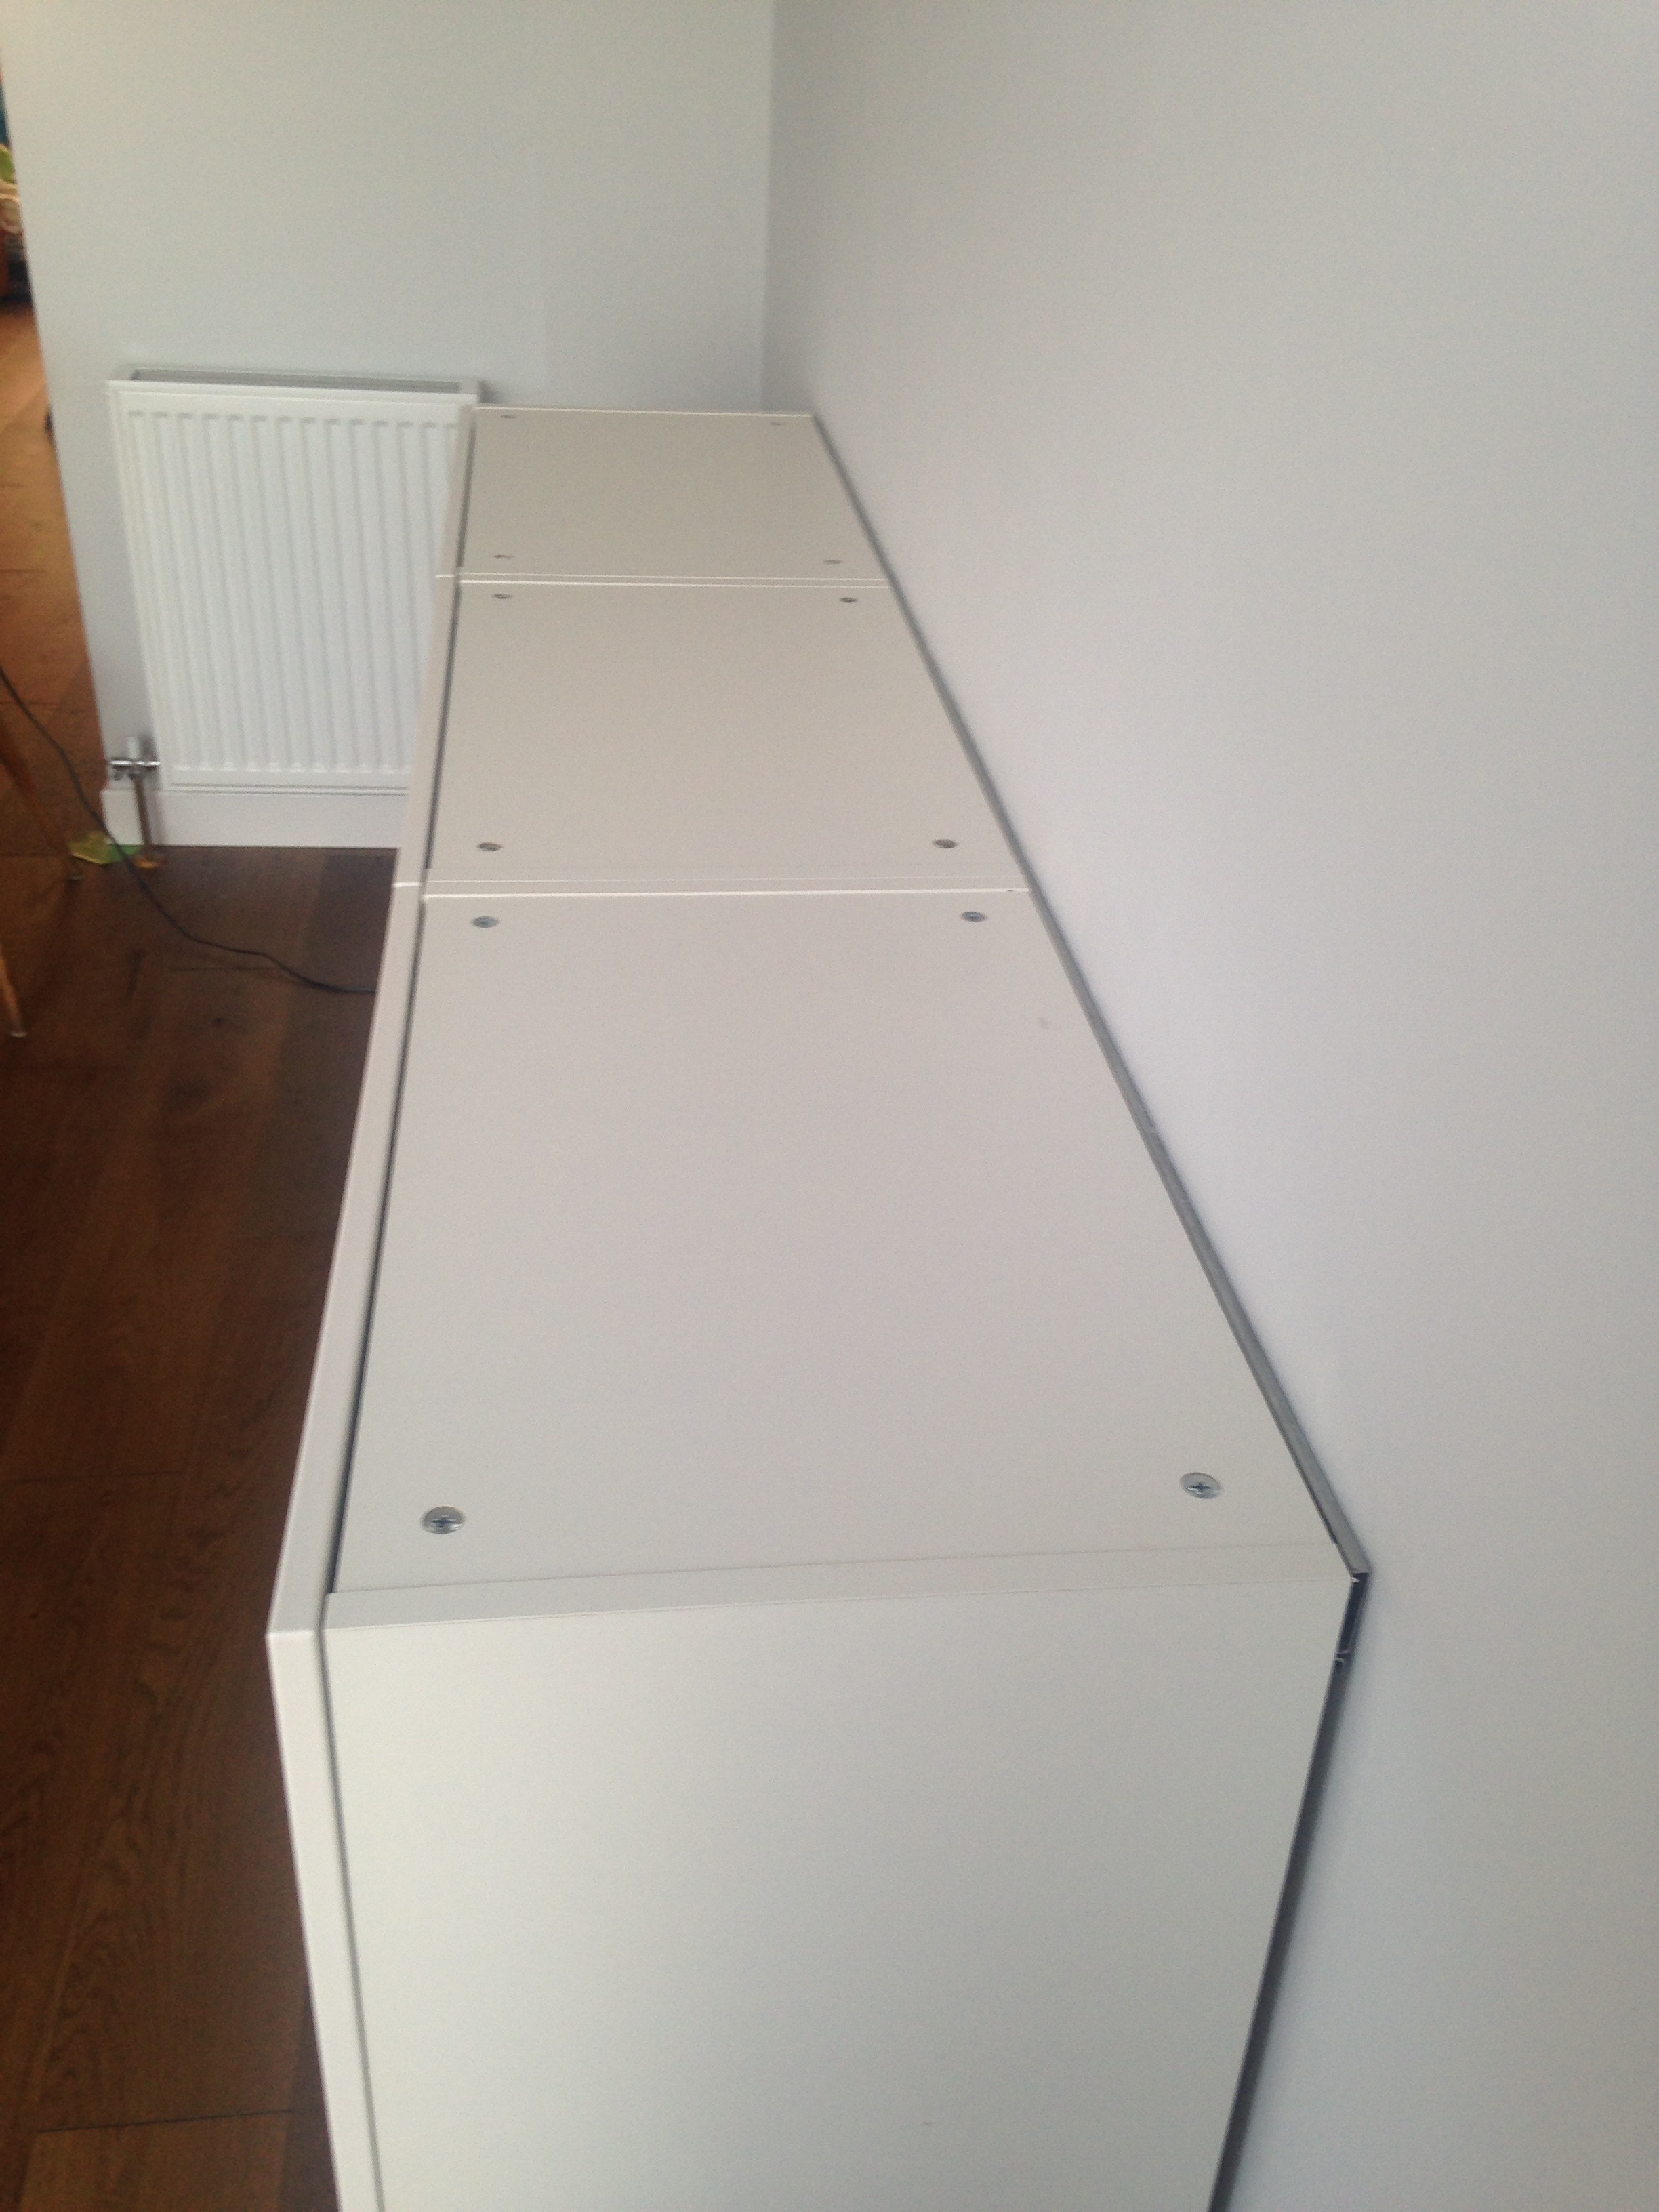
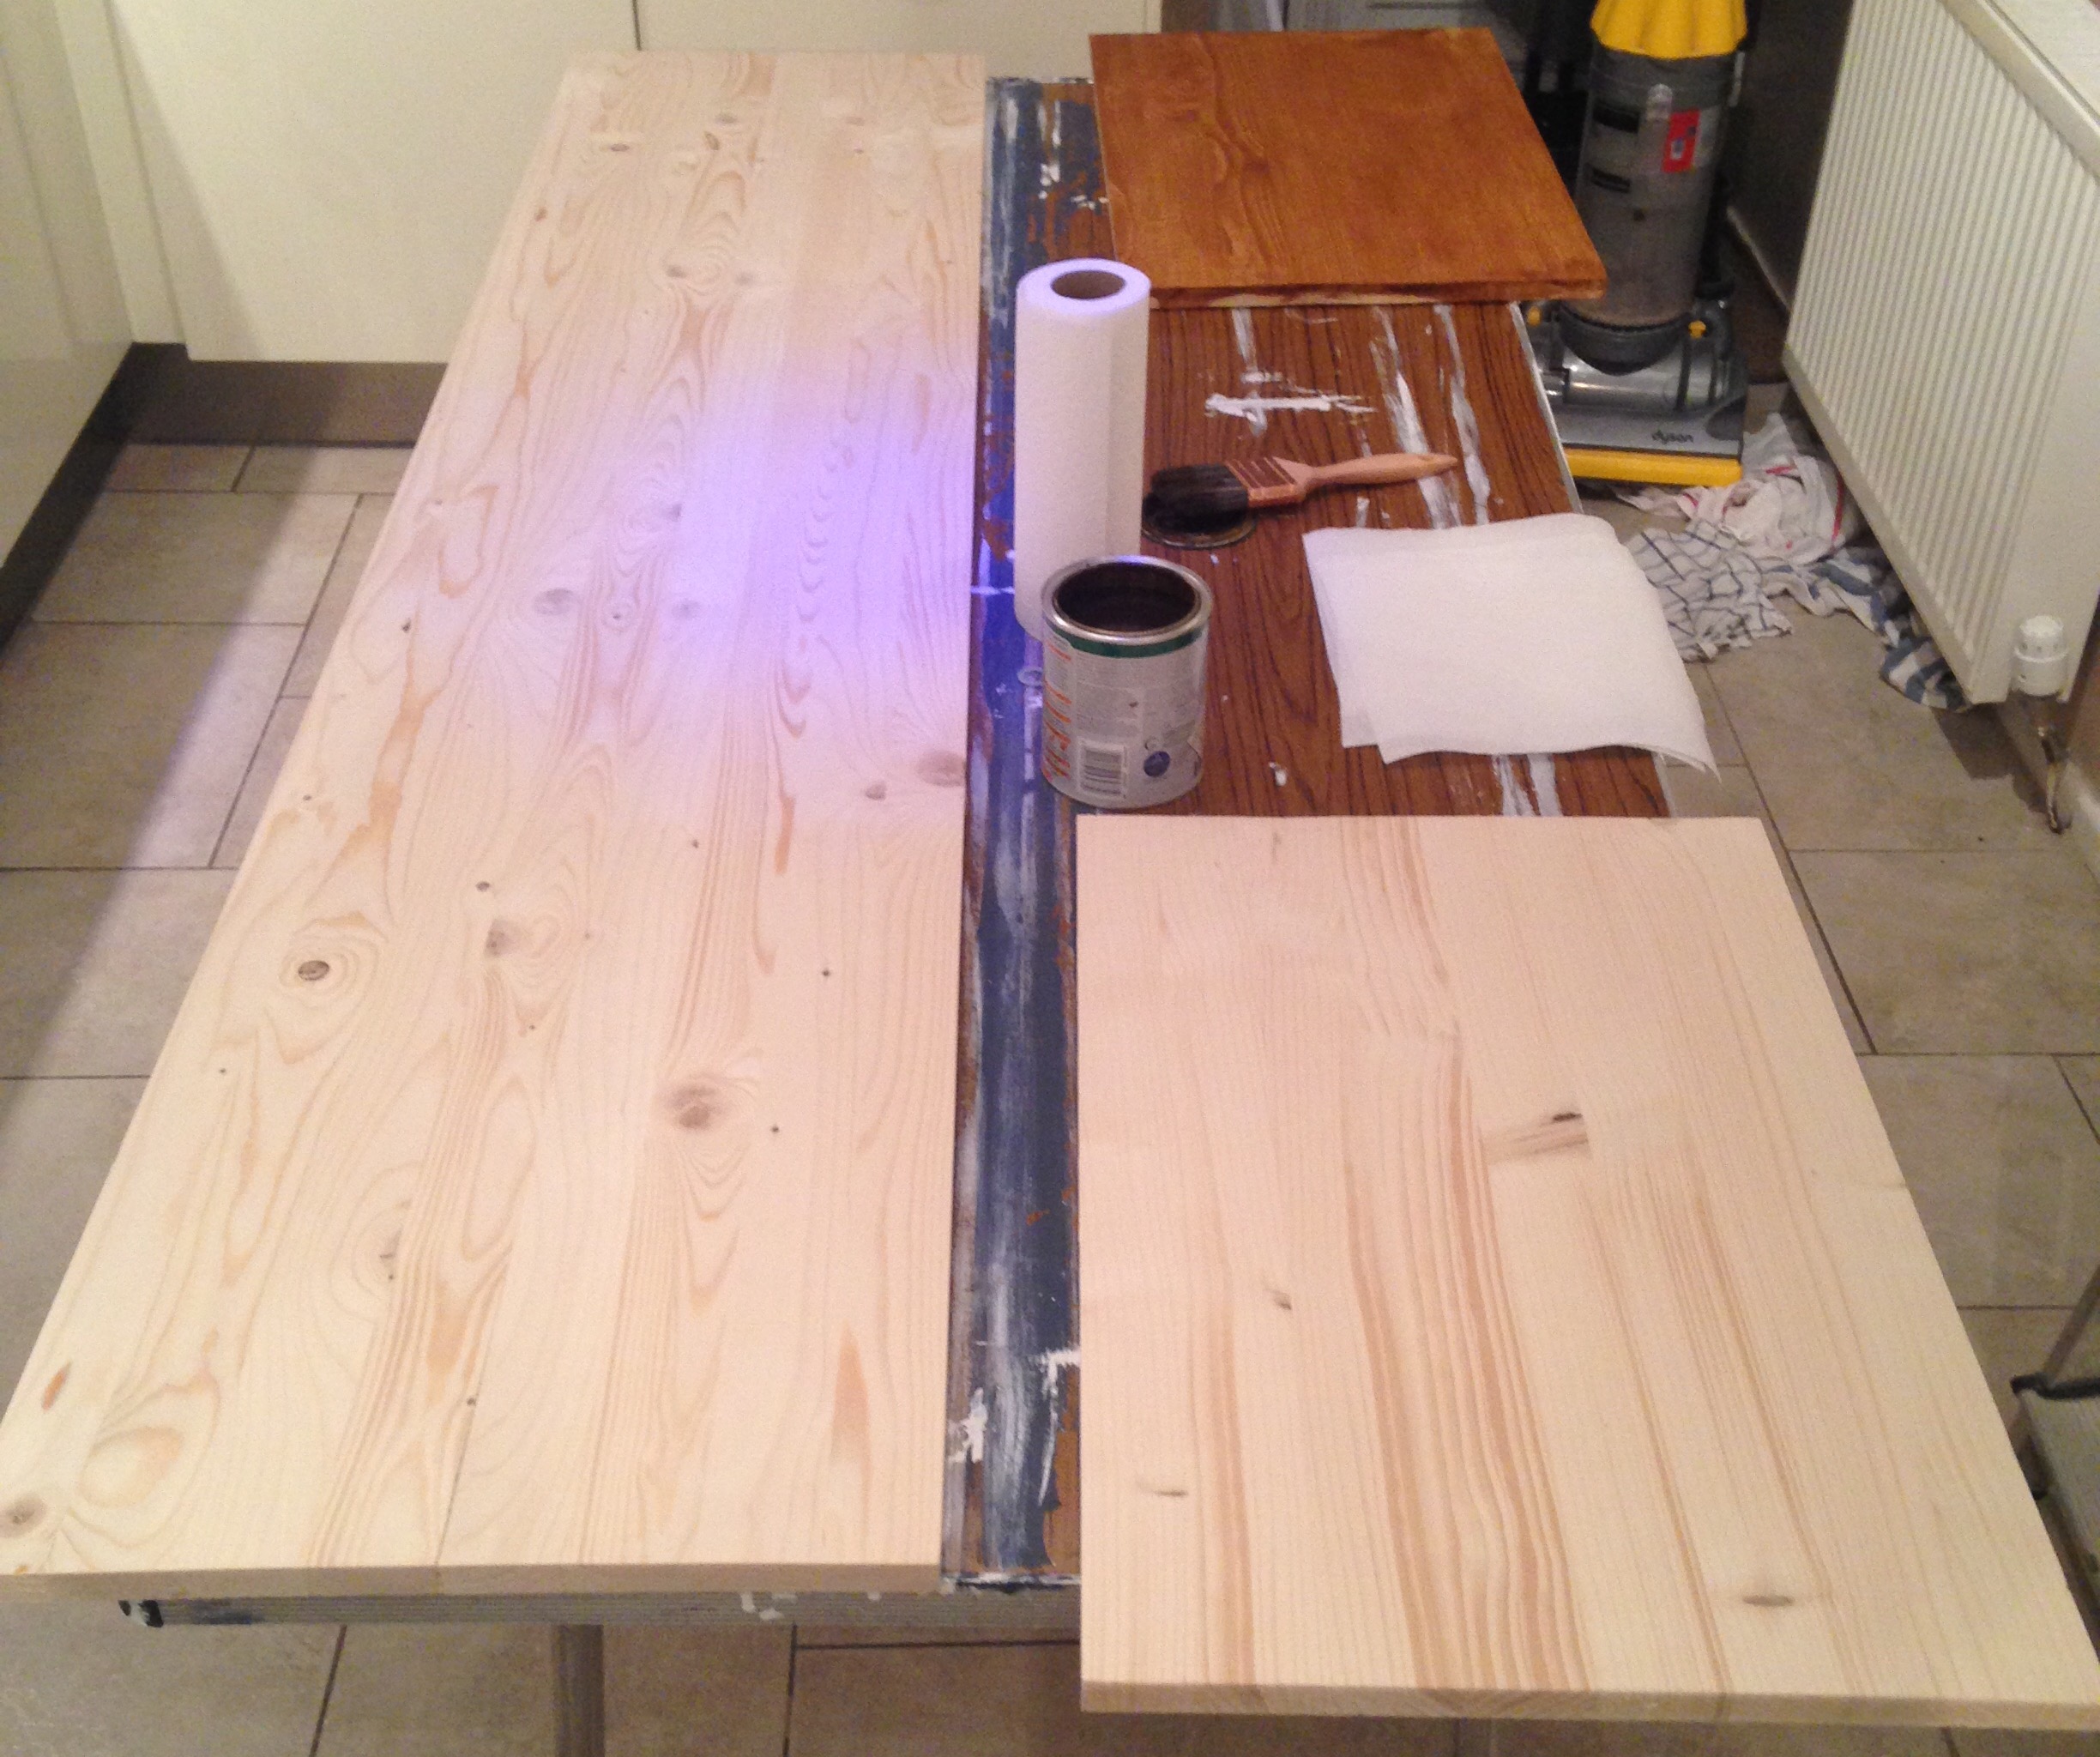
STEP FIVE: Sand down any rough edges on your wood and then stain them.
I bought spruce furniture boards from B&Q – one 2350x400x18 mm board for the top (cut down to be 1840x400x18 mm) and two 850x400x18 mm boards for the sides (cut down to be 600x400x18 mm) – the lovely staff in B&Q cut these to size for me in the store which make everything MUCH easier.
I set up a little staining station in the kitchen and used one coat of the antique pine wood stain, applied in sections and buffed into the wood with kitchen paper as I went along, which gave it a really nice, warm, rich colour.
The wood I bought was 40cm deep which worked perfectly – the cabinets are 37cm deep and the doors and suspension rail take the depth to almost 40cm so this left just the tiniest hint of an overhang.
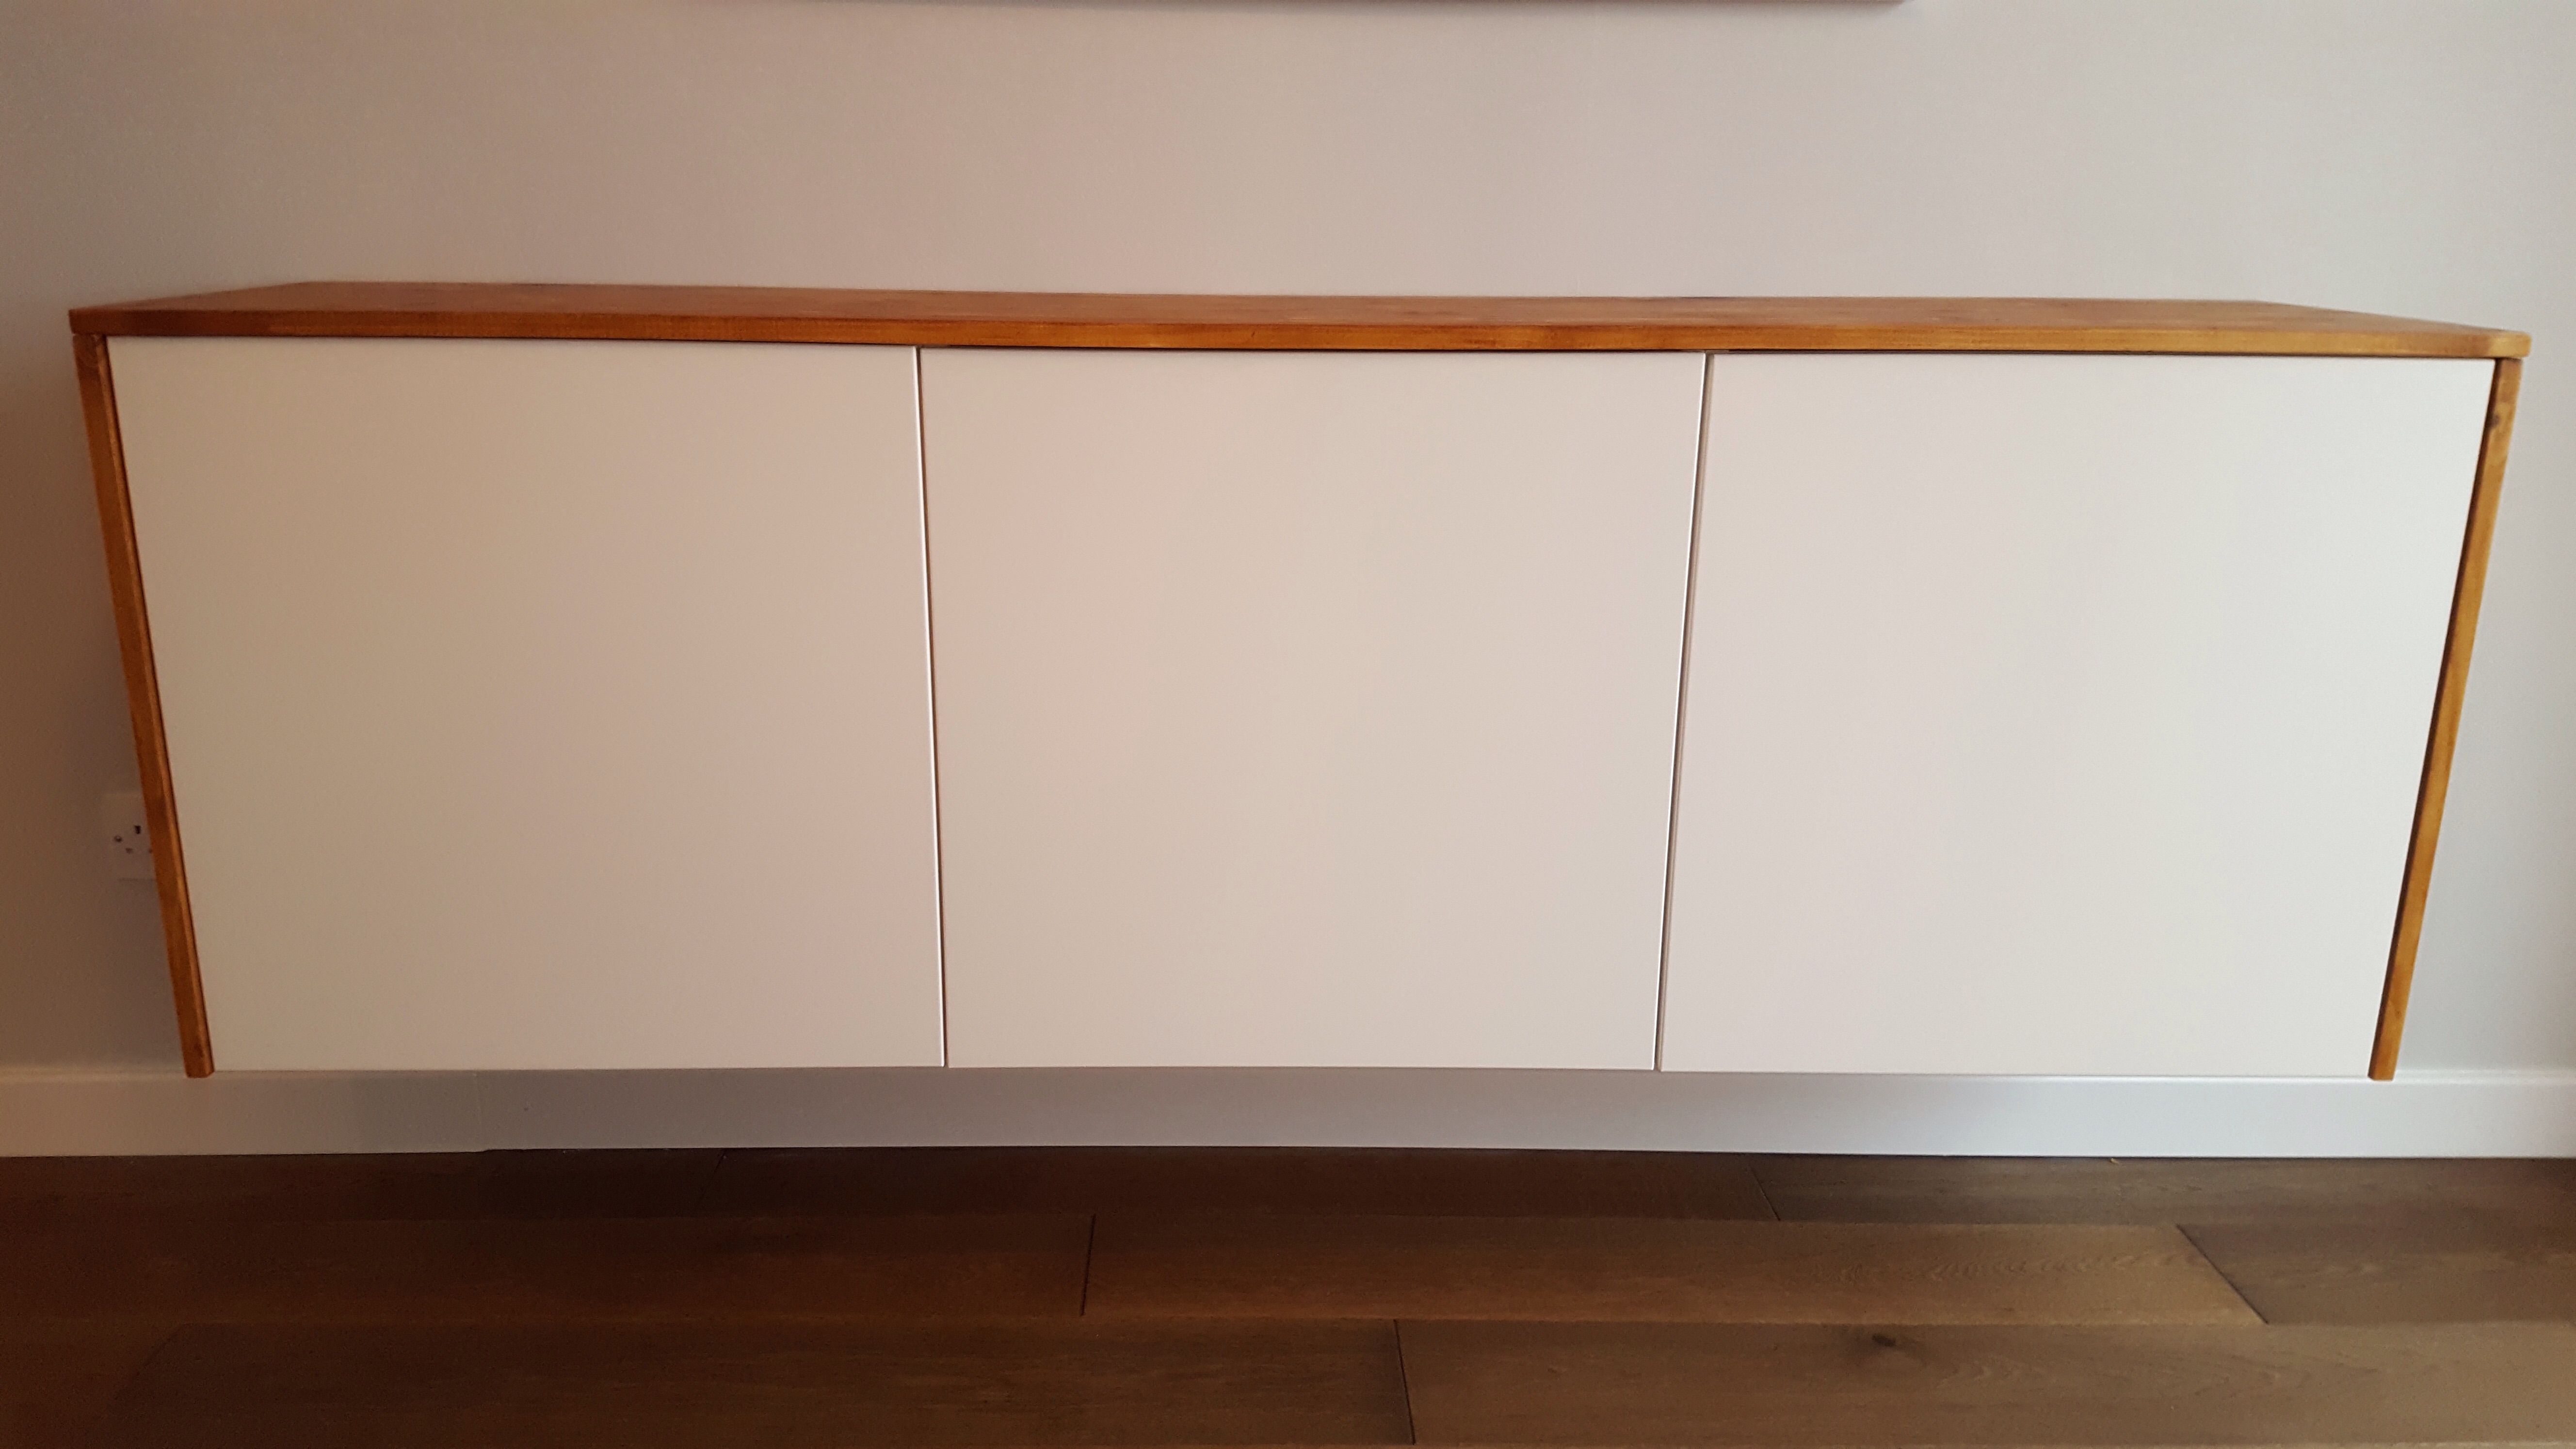
STEP SIX: Attach the wood top and sides to the cabinets. For the sides I used the Gripfill adhesive and also a couple of small screws in each side, screwed in from the inside of the cabinet, to hold them in place. For the top I just used the adhesive and placed the top down on the cabinets.
After a ridiculously busy week I feel pretty proud to have got this finished and the skirting / base boards in place (which you can see under the fauzdenza). The difference having the skirting boards in makes to the room is incredible. Everything just looks so much more polished now.
I stained the dining table top whilst doing the wood for the fauzdenza. I used two coats of the same stain, again buffing it into the wood. It gives just a little contrast between the two and stops everything from looking too matchy-matchy.
With only two weeks remaining, here’s what’s left to do…
{PROJECT LIST}
New flooringPaint newly plastered wallsPaint final colour on wallsNew coving / crown moldingCut skirting / base boardsAttach and paint skirting / base boardsDIY fauxdenza- Attach handles to doors
- Fit rail for doors
- Hang sliding doors between living and dining rooms
Stain dining table top- Bring in furniture
- Replace light fixture
- Decorate (rug, artwork etc)
This week needs to be all about getting the sliding doors in place, which I suspect will be a lot more complicated then I think. But once that is done, it’s just a question of changing over the ceiling light and then having fun with all the pretty accessories!
You can check on the progress of the other guest participations over on Calling it Home.

Amy you need to copyright the term fauxdenza!
Enjoyed this update and what a great tutorial!
Thank you for joining us at TOHOT!
Laura
White Spray Paint
Haha! Thank you – but I definitely can’t take any credit for coming up with that awesome term! I *think* it might have been Anna at Door Sixteen that started it and gets that honour!
Great job! Your fauxdenza looks amazing. Door Sixteen would be proud.
Thanks Celine! I’ve only been wanting to have one for about three years – definitely a sign I need to speed up on the decorating front!
Great install! I am a bit late to the TOHOT party this week due to my college semester finals but I’m so glad that I didn’t miss this. Have a wonderful week.
Love the Fauxdenza and those handles would be killer.