It’s #OneRoomChallenge time! If you’re visiting for the first time then welcome! Here are the links to catch up on Week One and Week Two.
This week has been almost entirely devoted to painting, with a little bit of coving / crown molding excitement thrown in.
I’d given the fresh plaster a coat of watered down white paint during the first week so another one of those plus two coats of Farrow & Balls’ ‘Blackened’, colour matched to Valspar’s Matt Premium Walls and Ceiling paint at B&Q (because I was too lazy to make the trek to the nearest Farrow & Ball stockist and too impatient to order it online and wait for delivery), has made a massive difference to the room. I probably could have got away with just one coat of Blackened as the coverage was fantastic.
I’d highly recommend the Valspar colour matching if you can’t easily get your hands on the paint colour you want from another brand. I took along the paint chart I had for them to match and the colour was spot on, I couldn’t tell the difference between the original sample pot I had and the colour matched paint. Plus, the quality of the paint was fantastic and really well priced. Two enthusiastic thumbs up right here!

The colour is perfect in the dining room and keeps things feeling light and bright, without being cold. The room doesn’t have any windows so relies entirely on getting natural light from the kitchen and conservatory and this colour definitely stops it from getting cave-like in there!
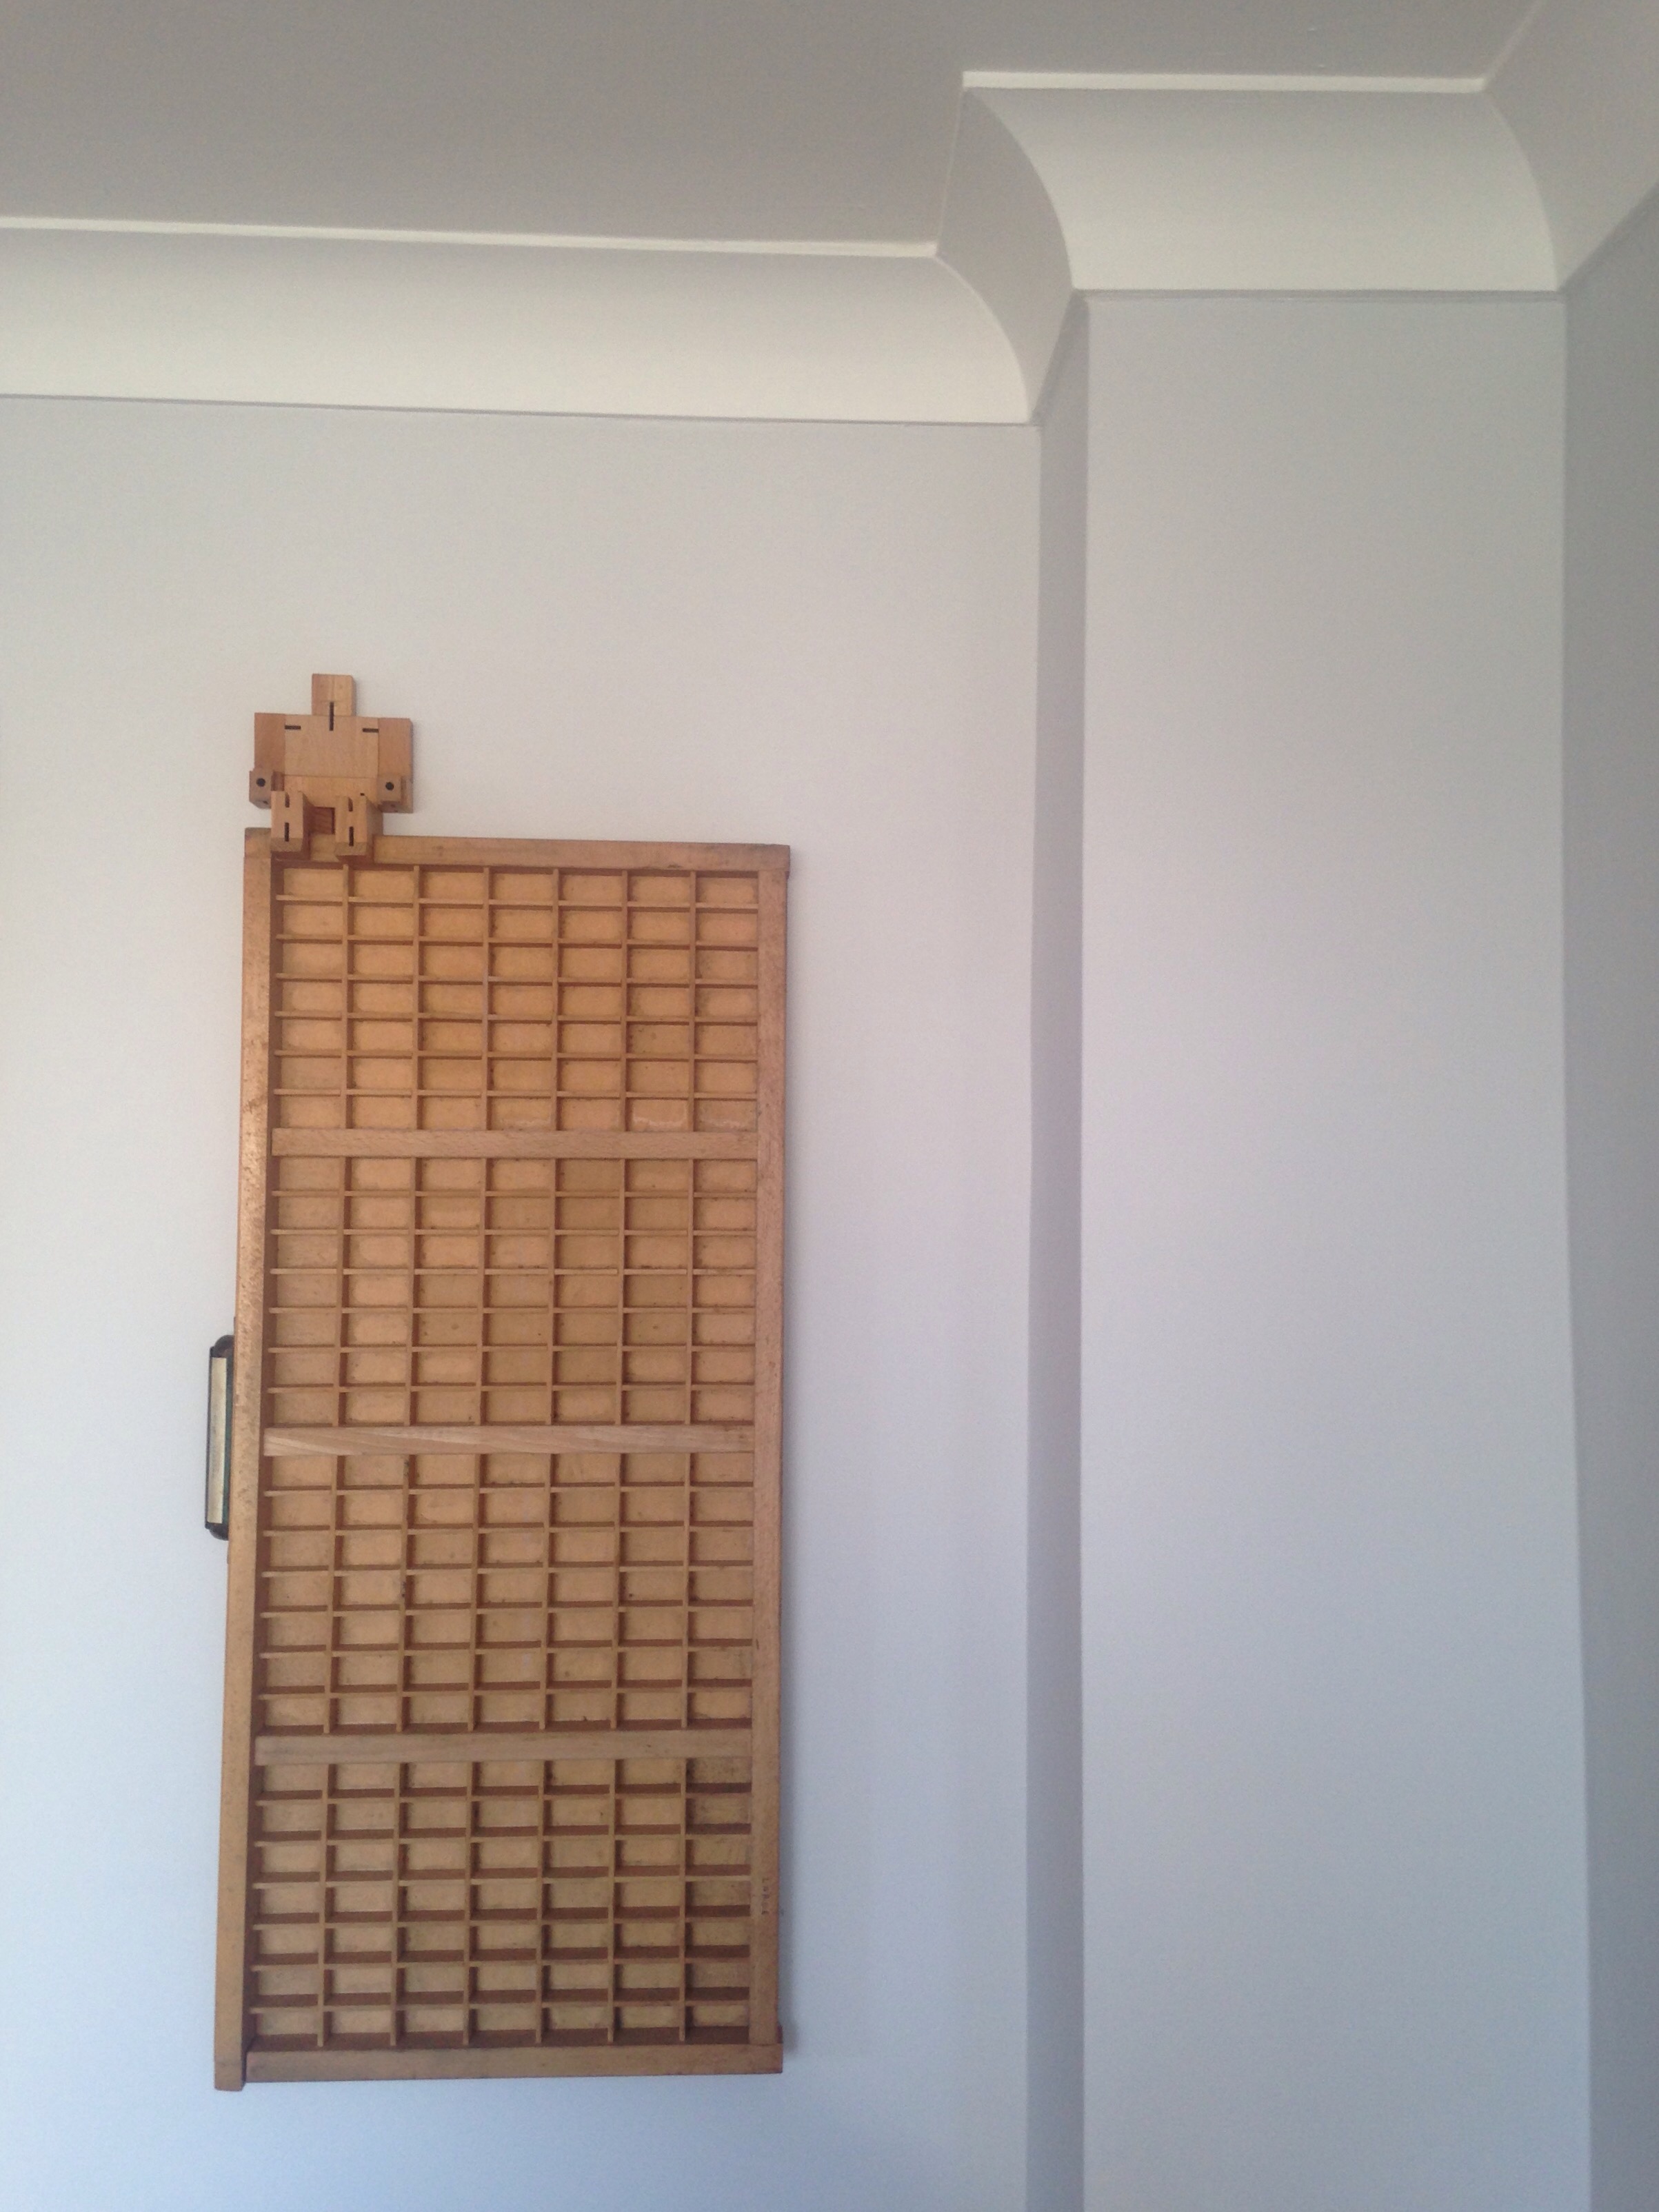
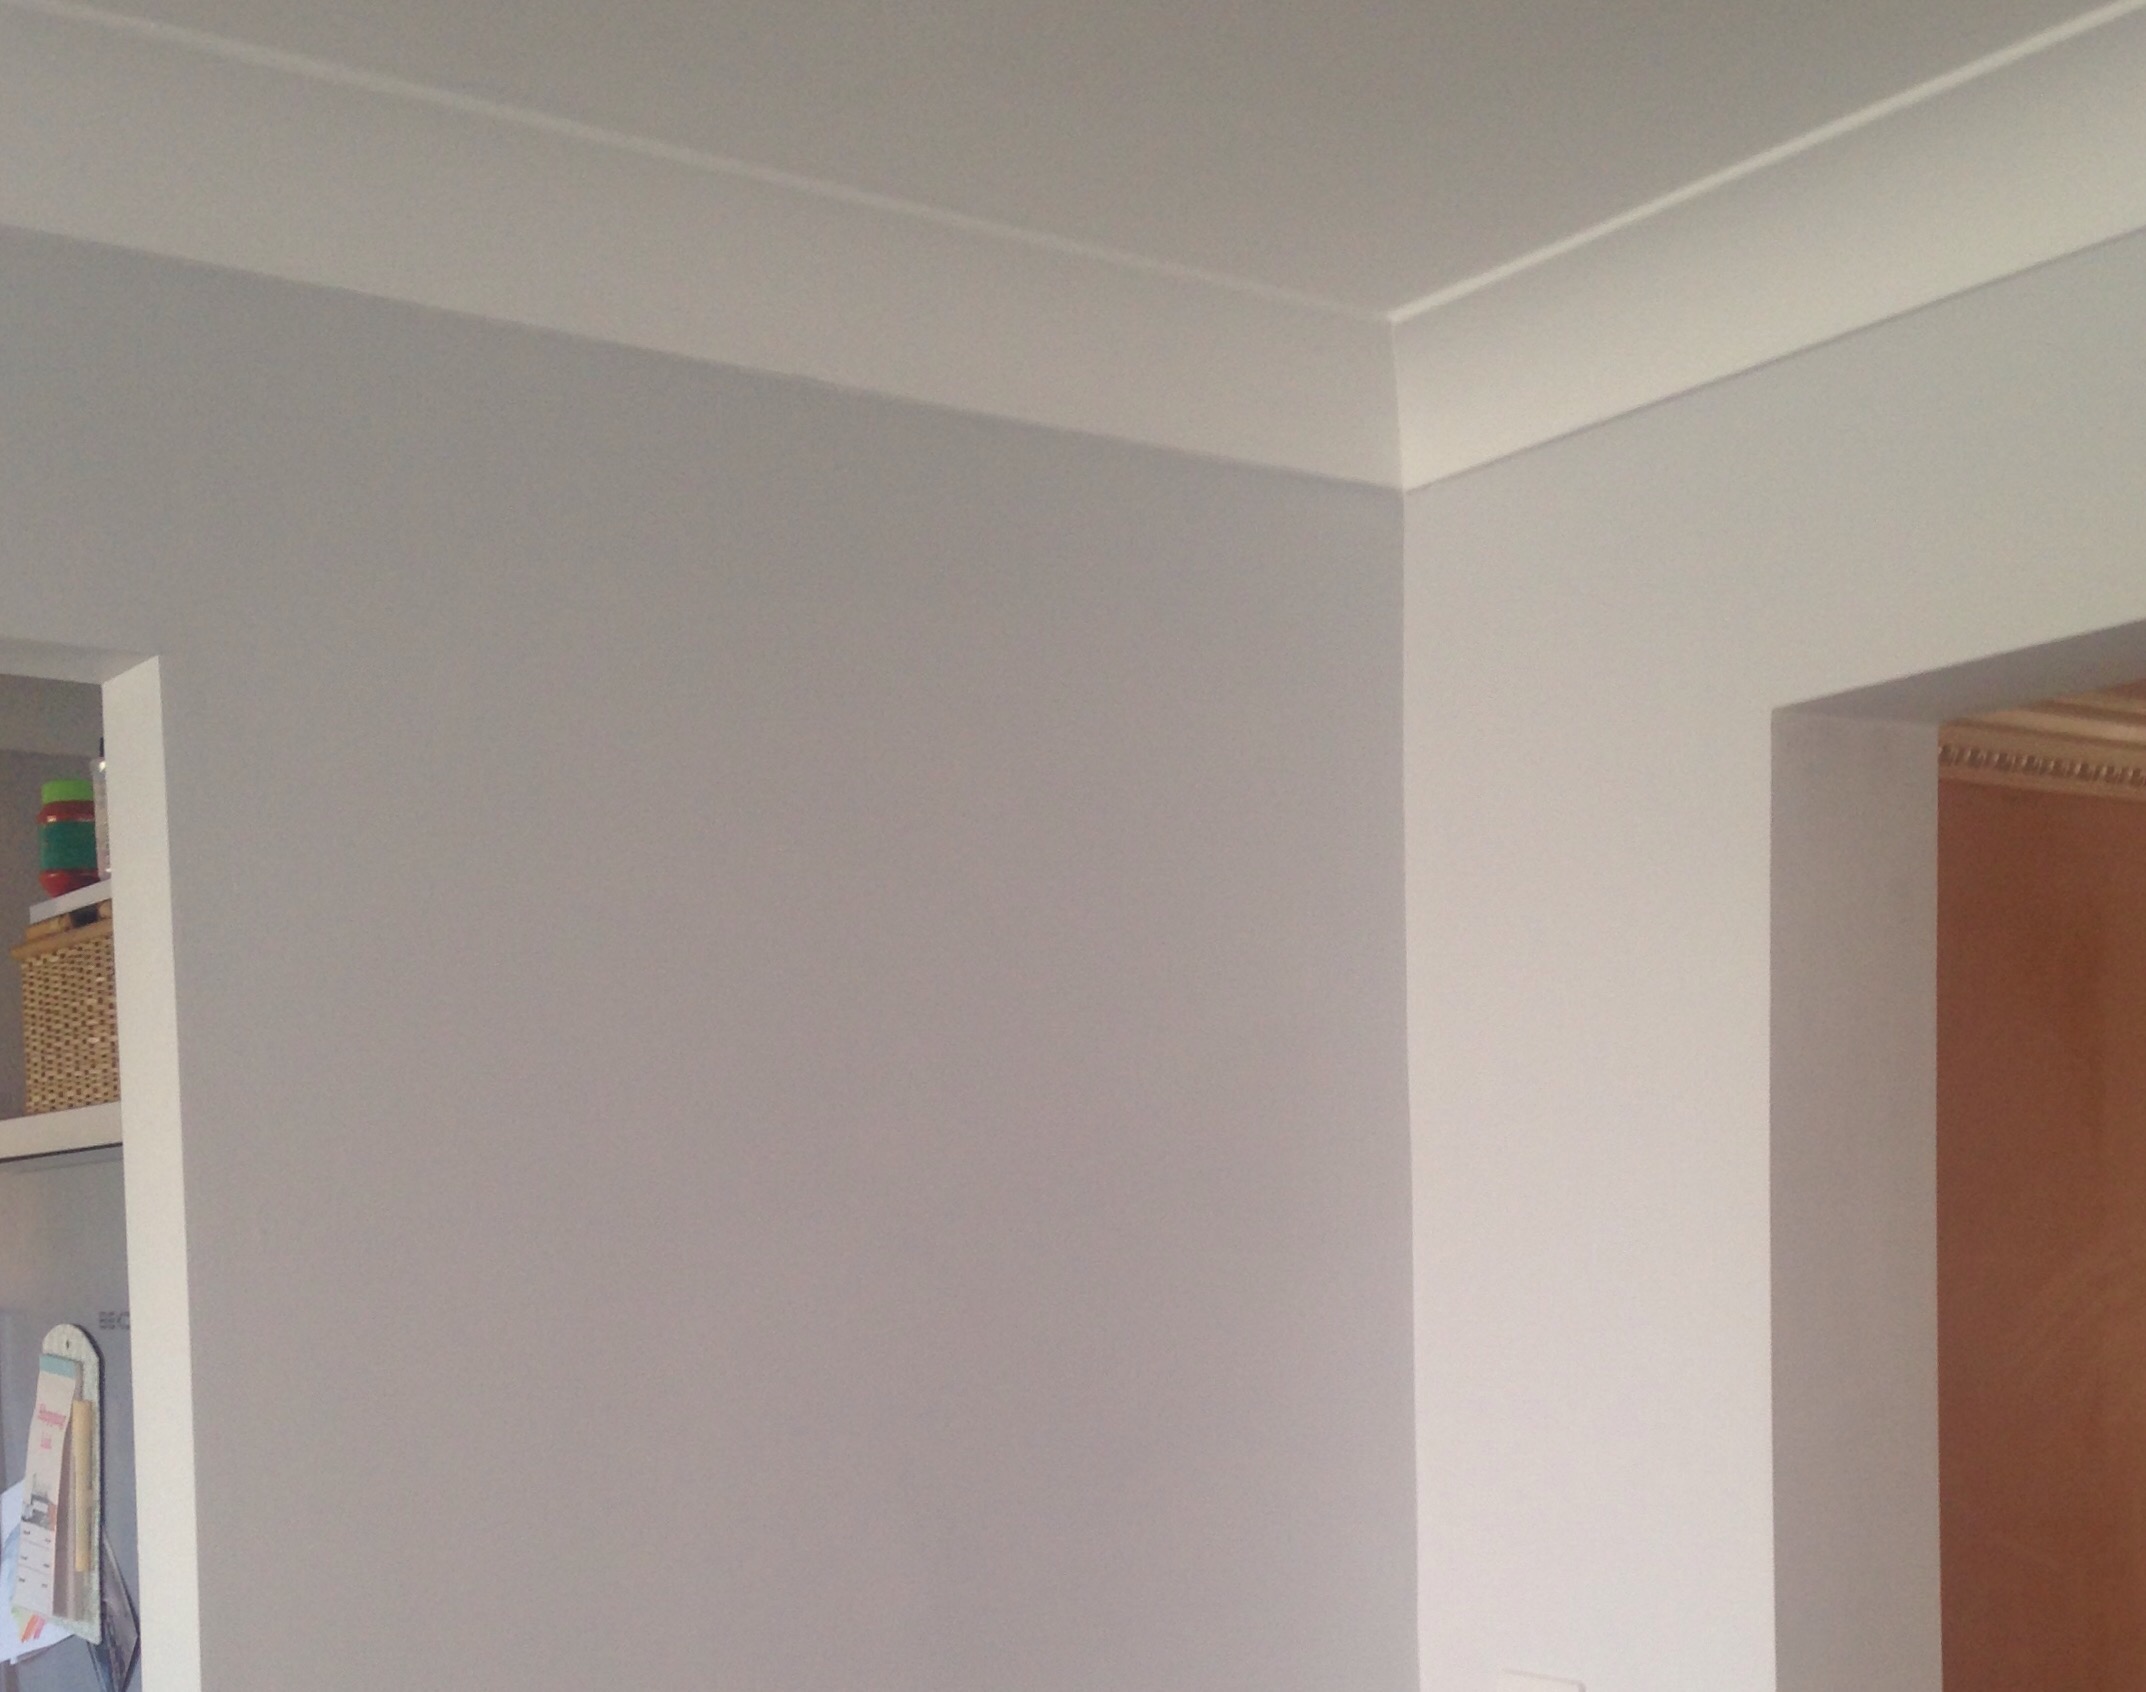 Apart from painting, the other main accomplishment in the room this week was getting the coving in place. Two of the walls still had the original coving in place however the walls separating the room from the kitchen and living room needed adding. I’d bought heavy GYPROC plaster coving for the dressing room and had enough left over for the dining room. The dressing room was a complete nightmare to do but after a tip from a friend to use ready mixed tile adhesive rather than buying the powder that you mix yourself. Using the ready mixed adhesive was definitely a time saver and so much easier than mixing it up yourself. Full disclosure, my “work” on the coving amounted to helping to hold it up whilst it was attached to the wall, so thank you to my awesome handy helper for taking on this task – small children have more upper body strength than I do, so I am pathetically useless at anything that involves holding something up in the air!
I also managed to get all the skirting boards cut so they just need attaching and painting. I’m actually super proud of myself for this one. First time doing mitre cuts on an electric saw so YAY ME!
I popped up this vintage printers tray that I’ve had for a while up on an awkwardly sized piece of wall above the radiator, just to see how it looked, and I think it’s pretty cute so that’s probably there to stay now.
 Here’s how the to-do list is shaping up…
{PROJECT LIST}
New flooringPaint newly plastered wallsPaint final colour on wallsNew coving / crown moldingCut skirting / base boards- Attach and paint skirting / base boards
- DIY fauxdenza
- Attach handles to doors
- Fit rail for doors
- Hang sliding doors between living and dining rooms
- Stain dining table top
- Bring in furniture
- Replace light fixture
- Decorate (rug, artwork etc)
The aim for the next seven days is to get the DIY fauxdenza done, which should be simple enough. I managed to get all the skirting boards cut this week so they just need attaching and painting in the coming week. I’m actually super proud of myself for this one. First time doing mitre cuts on an electric saw so YAY ME! If possible I’d also like to make a start on adding the doors between the living and dining rooms. Fingers crossed!
I’m currently debating with myself if having a rug under the dining table is a good idea or not. I feel like the room could look a little bare and unfinished without one but will it just end up really gross with food crumbs smushed into it? Any dining room rug advice for me?
You can check on the progress of the other guest participations over on Calling it Home.

If you finished nothing else, the coving makes the room very pretty! I love that style and the size really knocks it over the top.
We’d love for you to link up this post with us at Thoughts of Home on Thursday. Our readers would enjoy seeing your progress.
Thanks Stacey – will do!
So glad you are at TOHOT!
The coving is wonderful and I can’t wait to see your fauxdenza. I love that term!
Thank you for being at Thoughts of Home on Thursday.
We are so glad you are here.
Laura
White Spray Paint
Stopping by to see what you have done! love your style and you seem to know exactly what you are doing, coving is a type of mould, true… Look forward in seeing it come together in the next few weeks. This is my first OCR and its been really fun meeting other bloggers who are all in the same boat.
Maria
Amy I adore the color! Thank you for joining Thoughts of Home on Thursday. This post truly delighted me.
Very pretty. Painting is the worst though, but such impact.